http://your-server-ip:8989 once the container is running.If you’re anything like me and love watching a few good TV shows, keeping up with new episodes is a headache. The streaming landscape is chaotic. One week your favorite show is on Netflix, the next it’s pulled for an exclusive run on yet another platform. Tracking what’s available where, remembering release dates, and manually grabbing episodes turns into more work than the shows are worth.
That’s where Sonarr comes in. Instead of hopping between streaming platforms or hunting for downloads, Sonarr automates the whole pipeline. It watches your shows, spots new episodes the moment they’re available, and pulls them via your preferred method (torrent or Usenet). Once a file lands, Sonarr renames it, files it into your library, and makes it ready to watch on Jellyfin, Plex, or Kodi. Your shows come to you.
Why Sonarr Earns Its Spot in the Stack
Here’s what Sonarr actually does for you:
- Automation. No more manually searching for torrents or NZB files. Sonarr does it for you.
- Download client integration. Works with qBittorrent, Deluge, SABnzbd, and NZBGet out of the box.
- Library organization. Renames and sorts downloaded episodes into clean folder structures your media server can read.
- Quality control. Want 4K for some shows and 1080p for others? Set the rules per show. Sonarr will even upgrade a file later if a better version shows up.
- Missing episode search. If an episode isn’t out yet, Sonarr keeps looking until it finds a valid source.
You stop juggling websites and tools. Sonarr turns your TV collection into a hands-off pipeline.
Why Run Sonarr in Docker?
You could install Sonarr directly on the host. But running it in Docker pays off:
- Isolation. Sonarr and its dependencies live in their own container, separate from the host OS.
- Easy updates.
docker compose pulland you’re on the latest build. - Portability. Move the whole setup to a new machine by copying the compose file and the config volume.
- No dependency hell. No conflicting mono versions or library mismatches to chase.
If you want to take control of your TV library, Sonarr in Docker is the way to go.
Step 1: Install Docker
You need Docker first. If you don’t already have it, follow this guide: Master the Basics - How to Install Docker
Step 2: Create the Sonarr Docker Compose File
Now set up a docker-compose.yml file to define the Sonarr container.
Pick a Folder
Decide where you want to keep Sonarr’s compose file. I use a root folder named docker:
sudo mkdir -p /docker && cd /docker
Create the docker-compose.yml File
Open it in your favorite editor:
nano /docker/docker-compose.yml
Paste this in:
services:
  #################################
  # SONARR
  #################################
  sonarr:
    # Official LinuxServer.io Sonarr image
    image: lscr.io/linuxserver/sonarr:latest
    # Friendly name for the container
    container_name: sonarr
    # Pulls PUID, PGID, UMASK, TZ, ports, and paths from the .env file
    env_file: .env
    ports:
      # Maps the host port to Sonarr's web UI (8989) inside the container
      - ${SONARR_PORT}:8989
    volumes:
      # Sonarr's config and database (persists across restarts)
      - ${CONFIG_PATH}/sonarr:/config
      # Your TV library
      - ${MEDIA_PATH}/Shows:/tv
      # Shared download folder (must be the same path in every Arr container)
      - ${DOWNLOADS_PATH}:/downloads
    healthcheck:
      # Lets `docker ps` show "healthy" once the UI starts answering
      test: wget --no-verbose --tries=1 --spider http://localhost:8989/ping || exit 1
      start_period: 30s
      timeout: 3s
      interval: 30s
      retries: 3
    networks:
      # Joins the shared media network
      - media_network
    # Restart automatically unless you stop it yourself
    restart: unless-stopped

#################################
# NETWORK
#################################
networks:
  media_network:
    # Shared network, created once with: docker network create media_network
    name: media_network
    external: true
Step 3: Customize the .env File
Open the .env File
nano /docker/.env
The content should look like this:
# User and Group ID (Prevents permission issues)
# Main user ID
PUID=1000
# Main group ID:
PGID=1001
# File permission mask
UMASK=0007

# Timezone (Ensures correct scheduling and logs)
TZ=America/Denver

# Define Ports (Ports for each container are defined here)
RADARR_PORT=7878
SONARR_PORT=8989
SABNZBD_PORT=8080
PROWLARR_PORT=9696
BAZARR_PORT=6767

# Data Directories (Keeps storage paths centralized)
CONFIG_PATH=/docker
DOWNLOADS_PATH=/downloads
MEDIA_PATH=/media/Storage
Update the paths to match your setup. Here’s what each one does:
CONFIG_PATH=/dockeris the root folder where Docker stores persistent files.MEDIA_PATH=/media/Storageis the root folder for your media files.DOWNLOADS_PATH=/downloadsis the root folder where your download client drops temp and incomplete files.
Make sure the download client container shares access to the /downloads path. If it doesn’t, Sonarr can’t see the finished files and the whole pipeline breaks at the import step.
Also set the timezone (TZ) to match yours. Pull the right string from this list of valid timezones.
💡 Pro Tip: Your download client (qBittorrent, SABnzbd, whatever) needs the same /downloads mount Sonarr uses. Same path, same UID/GID. Skip this and Sonarr will see a “download not found” error every time.
Step 4: Start Sonarr
The Compose file attaches to an external network called media_network, so create it once before you bring the stack up:
docker network create media_network
With everything in place, fire up the container:
docker compose up -d
- The
-dflag runs the container in the background (detached mode). - Sonarr should now be running.
Verify it:
docker ps
You should see sonarr in the list of running containers:
CONTAINER ID   IMAGE                               COMMAND   CREATED          STATUS                    PORTS                                       NAMES
e49175ef37c5   lscr.io/linuxserver/sonarr:latest   "/init"   23 seconds ago   Up 22 seconds (healthy)   0.0.0.0:8989->8989/tcp, :::8989->8989/tcp   sonarr
Step 5: Ensure Permissions Are Set Correctly
Folder permissions are the single most common reason the Arr suite blows up inside Docker. Save yourself the pain. Fix the permissions on your docker and media folders before you touch the UI:
sudo chown -R `yourusername`:media /docker/ && sudo chmod -R 770 /docker/
sudo chown -R `yourusername`:media /media/ && sudo chmod -R 770 /media/
For more on Linux permissions, read this: Master the Basics - Linux Permissions
Step 6: Access and Configure Sonarr
Open a browser and go to:
http://your-server-ip:8989
From here you’ll wire Sonarr up to your download client and your indexers, and point it at your TV library folder. For the full configuration walkthrough, the official Sonarr Wiki is the source of truth.
Step 7: Keeping Sonarr Updated
One of Docker’s biggest wins is painless updates:
docker compose pull  # Fetches the latest image
docker compose down  # Stops and removes the running container
docker compose up -d  # Starts a fresh container with the new image
Run that every month or so. You’ll stay on top of features and security patches without ever opening Sonarr’s UI.
Conclusion
Sonarr handles the boring parts of running a TV library. It watches, downloads, renames, and files episodes so you don’t have to. In Docker, you get all that without polluting the host OS, and updating it is three commands.
Next, point Sonarr at an indexer (NZBGeek, Drunkenslug, or your tracker of choice) and a download client. Once shows start flowing in, add Radarr for movies and Lidarr for music. Same compose file, same .env, same network. That’s how the Arr stack snowballs into a full media automation rig. If you’d rather build the whole thing at once, follow the complete arr stack Docker Compose guide.
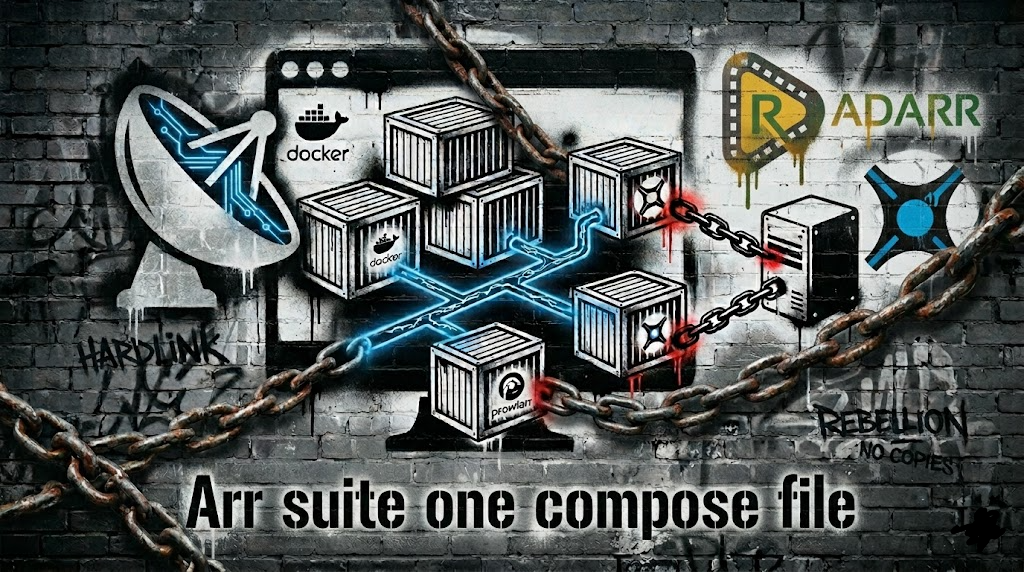
Running the whole Arr suite? Stand up Prowlarr, Radarr, Sonarr, and Bazarr from one Docker Compose file, with a fast download drive and clean imports into your media pool.