So, you want smooth media transcoding in your Jellyfin VM running on Proxmox, and you’ve heard Intel QuickSync is that silver bullet. Or maybe you’re chasing GPU cycles for gaming, but Proxmox’s default CPU emulation just isn’t cutting it. Enter hardware passthrough: a fascinating promise of bare-metal performance wrapped in the warm hug of virtualization.
But here’s the kicker Reddit forgets to mention: halfway in, your server can just black out. Silent, unresponsive, and only revivable through SSH. Think digital coma. Good times.
If you’ve ever wrestled with PCIe passthrough, IOMMU groups, or found yourself frantically Googling “why is my Proxmox host dead after GPU passthrough?” at 2 AM, welcome to the club. The membership fee? A few gray hairs and an extra helping of existential dread. If not, congrats, and read on to keep it that way.
Let’s simplify GPU passthrough in proxmox, break down the gotchas that matter, and get you transcoding with QuickSync (or any GPU) without turning your Proxmox box into a doorstop.
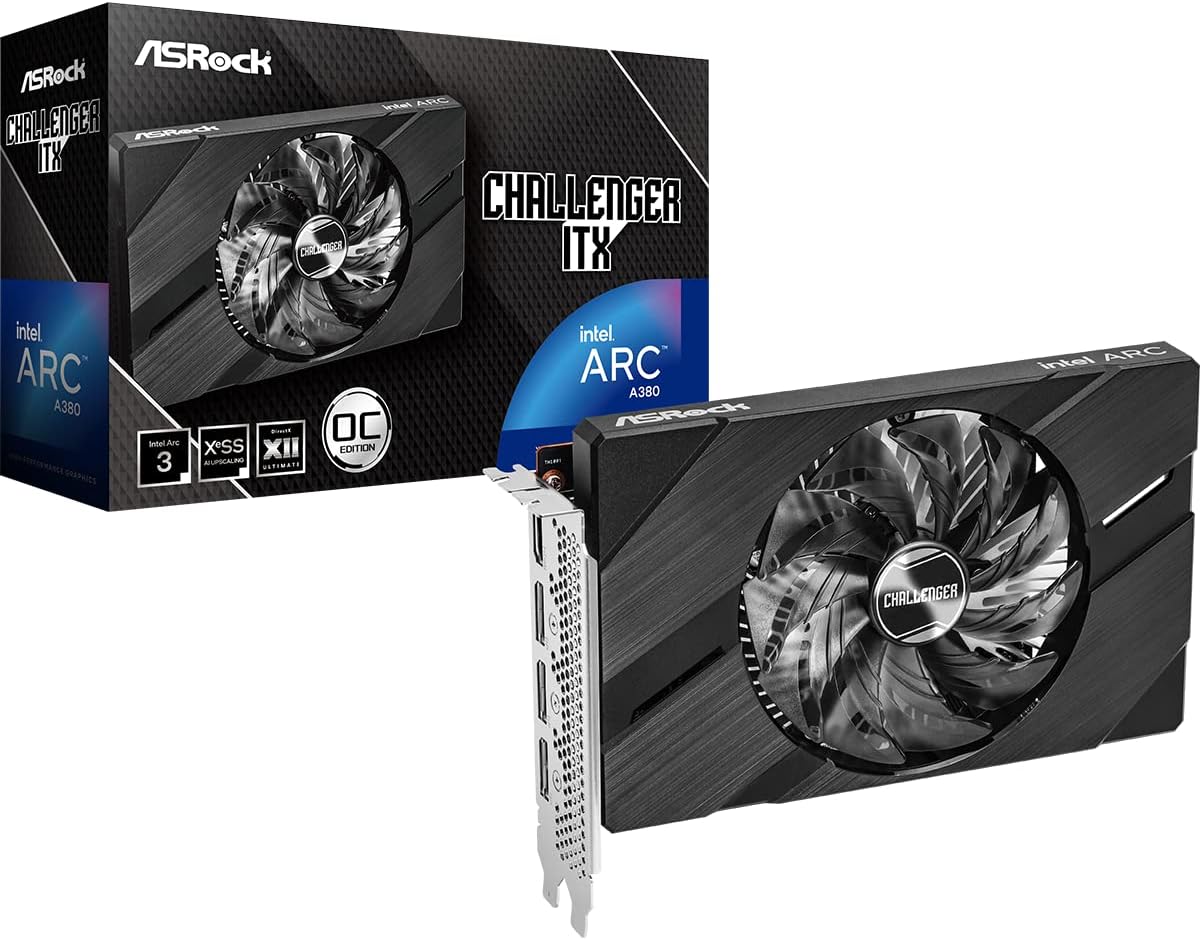
ASRock Intel ARC A380 Challenger The Arc A380 isn’t for gaming, it’s for obliterating video streams. With support for H.264, HEVC, and full AV1 hardware encode/decode, it crushes 20+ 1080p streams or 6–8 HDR tone-mapped 4Ks without breaking a sweat. Drop it in your media server, give Jellyfin direct VA-API access, and watch your CPU finally cool off for a bit.
Contains affiliate links. I may earn a commission at no cost to you.
What Is Hardware Passthrough, Really?
Think of your typical VM setup like a hotel stay. Your VM gets a comfortable room (virtualized hardware), but it shares resources with every other guest. Proxmox, our hypervisor, is the hotel manager allocating what you get and when.
Hardware passthrough is like buying out an entire floor, with an express elevator. Instead of your VM politely asking Proxmox for GPU power, you hand over the hardware directly. “This is yours, use it as you like.”
The magic? Your VM’s applications can communicate directly with the hardware, bypassing virtualization overhead. For transcoding, Intel QuickSync runs exactly as it does on bare metal—full.
But here’s the kicker: when you do proxmox pcie passthrough, you’re snatching that hardware away from the host. Was Proxmox using that GPU for the console display? Guess what just went dark?
The IOMMU Groups Reality Check
Let’s talk IOMMU groups, the mystical rules determining what hardware you can actually pass through.
IOMMU (Input-Output Memory Management Unit) groups are like apartment buildings for PCIe devices. Everything in one group shares certain pathways, so you can’t just evict one tenant, you have to pass the whole group to your VM.
Why does this matter? If your GPU shares an IOMMU group with, say, your network card, you can’t just pass through the GPU. It’s all or nothing. This is where most passthrough dreams go to die.
The good news? Most modern systems have sensible group layouts, especially for integrated graphics. Intel’s QuickSync, baked into the CPU, usually plays nice.
Pre-Flight Checklist: What You Actually Need
Before you tear apart a perfectly functional Proxmox setup, check these requirements:
Hardware Requirements:
- CPU with Intel QuickSync (think almost any modern Intel CPU)
- Motherboard with IOMMU/VT-d (enable in BIOS)
- Enough PCIe lanes (if you’re using a discrete GPU)
- Backup access to your Proxmox host (SSH, IPMI, or a secondary GPU)
Software Prerequisites:
- Proxmox VE (obviously)
- A guest OS that supports your hardware
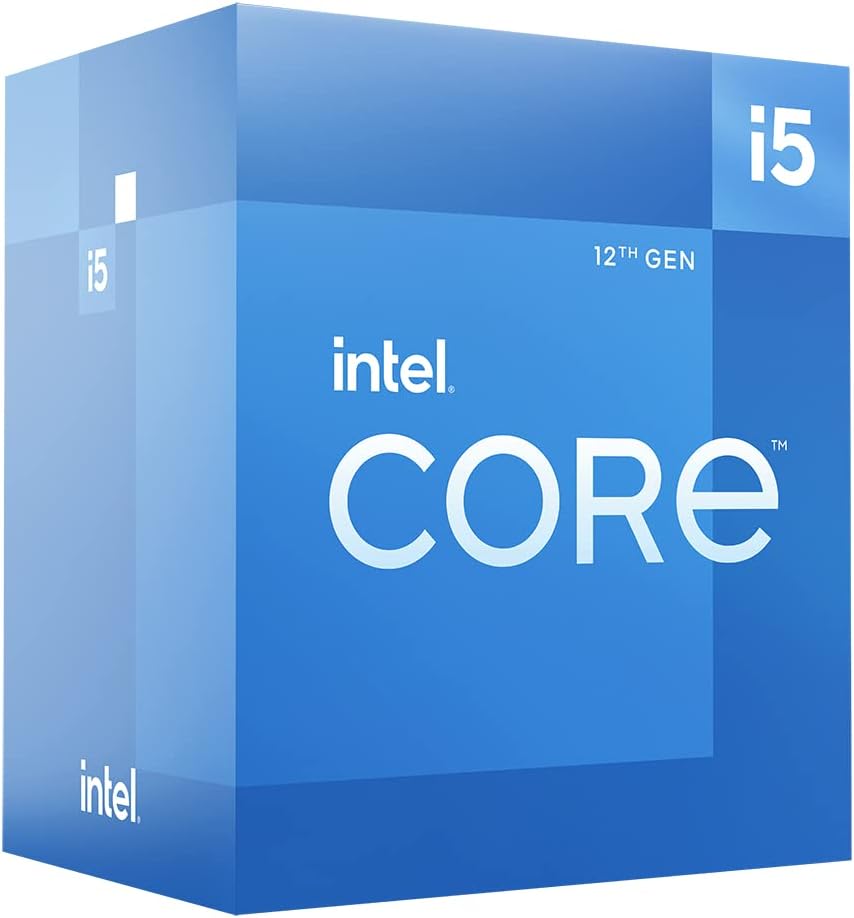
Intel® Core™ i5-12500 12th Generation Desktop Processor This 12th-gen i5 packs QuickSync with UHD 770 graphics, enough to power 4K → 1080p transcodes like a champ. You’ll push 10+ simultaneous 1080p streams with near-zero CPU load. Ideal for low-power, headless Proxmox boxes that run hot and quiet. No dGPU? No problem.
Contains affiliate links. I may earn a commission at no cost to you.
Let’s be honest, if you’re here, your CPU is probably choking on media transcoding while you’re dreaming of QuickSync’s magic.
What Is GPU Passthrough and Why Should You Care?
GPU passthrough in proxmox means telling Proxmox to stop hogging your GPU and give it directly to your VM. This gives your VM the keys to the Ferrari while Proxmox walks home. For QuickSync, this means Jellyfin or any media workflow will fly through transcoding.
Prerequisites: What You’ll Need Before Diving In
Don’t skip the homework before shuffling hardware assignments:
CPU must support IOMMU:
- Intel calls it
VT-d - AMD calls it:
AMD-Vi - And enable it in the BIOS (often OFF by default).
Motherboard must support IOMMU groups properly:
- These groups decide what you can pass through
- Some boards group devices nonsensically, making passthrough a pain.
You need remote access (SSH/IPMI):
- Without it, losing your display means flying blind.
- My SSH Guide
GPU isolation:
- The PCIe slot should NOT share an IOMMU group with critical components, or passthrough may not work.
Checking IOMMU Groups: The Foundation
Check how your system organizes devices. On your Proxmox host:
find /sys/kernel/iommu_groups/ -type l | sort -V
It should look something like this:
/sys/kernel/iommu_groups/0/devices/0000:00:02.0
/sys/kernel/iommu_groups/1/devices/0000:00:00.0
/sys/kernel/iommu_groups/2/devices/0000:00:06.0
/sys/kernel/iommu_groups/3/devices/0000:00:14.0
/sys/kernel/iommu_groups/3/devices/0000:00:14.2
/sys/kernel/iommu_groups/4/devices/0000:00:15.0
/sys/kernel/iommu_groups/5/devices/0000:00:16.0
/sys/kernel/iommu_groups/6/devices/0000:00:17.0
/sys/kernel/iommu_groups/7/devices/0000:00:1c.0
/sys/kernel/iommu_groups/8/devices/0000:00:1c.2
/sys/kernel/iommu_groups/9/devices/0000:00:1f.0
/sys/kernel/iommu_groups/9/devices/0000:00:1f.3
/sys/kernel/iommu_groups/9/devices/0000:00:1f.4
/sys/kernel/iommu_groups/9/devices/0000:00:1f.5
/sys/kernel/iommu_groups/10/devices/0000:01:00.0
/sys/kernel/iommu_groups/11/devices/0000:02:00.0
/sys/kernel/iommu_groups/12/devices/0000:02:00.1
/sys/kernel/iommu_groups/13/devices/0000:03:00.0
To better ID what these components are run:
lspci -nn
Results:
00:00.0 Host bridge [0600]: Intel Corporation Device [8086:4648] (rev 02)
00:02.0 VGA compatible controller [0300]: Intel Corporation AlderLake-S GT1 [8086:4680] (rev 0c)
00:06.0 PCI bridge [0604]: Intel Corporation 12th Gen Core Processor PCI Express x4 Controller #0 [8086:464d] (rev 02)
00:14.0 USB controller [0c03]: Intel Corporation Alder Lake-S PCH USB 3.2 Gen 2x2 XHCI Controller [8086:7ae0] (rev 11)
00:14.2 RAM memory [0500]: Intel Corporation Alder Lake-S PCH Shared SRAM [8086:7aa7] (rev 11)
00:15.0 Serial bus controller [0c80]: Intel Corporation Alder Lake-S PCH Serial IO I2C Controller #0 [8086:7acc] (rev 11)
00:16.0 Communication controller [0780]: Intel Corporation Alder Lake-S PCH HECI Controller #1 [8086:7ae8] (rev 11)
00:17.0 SATA controller [0106]: Intel Corporation Alder Lake-S PCH SATA Controller [AHCI Mode] [8086:7ae2] (rev 11)
00:1c.0 PCI bridge [0604]: Intel Corporation Alder Lake-S PCH PCI Express Root Port #2 [8086:7ab9] (rev 11)
00:1c.2 PCI bridge [0604]: Intel Corporation Alder Lake-S PCH PCI Express Root Port [8086:7aba] (rev 11)
00:1f.0 ISA bridge [0601]: Intel Corporation Z690 Chipset LPC/eSPI Controller [8086:7a84] (rev 11)
00:1f.3 Audio device [0403]: Intel Corporation Alder Lake-S HD Audio Controller [8086:7ad0] (rev 11)
00:1f.4 SMBus [0c05]: Intel Corporation Alder Lake-S PCH SMBus Controller [8086:7aa3] (rev 11)
00:1f.5 Serial bus controller [0c80]: Intel Corporation Alder Lake-S PCH SPI Controller [8086:7aa4] (rev 11)
01:00.0 Non-Volatile memory controller [0108]: Sandisk Corp WD Black SN770 NVMe SSD [15b7:5017] (rev 01)
02:00.0 Ethernet controller [0200]: Intel Corporation 82576 Gigabit Network Connection [8086:10c9] (rev 01)
02:00.1 Ethernet controller [0200]: Intel Corporation 82576 Gigabit Network Connection [8086:10c9] (rev 01)
03:00.0 Ethernet controller [0200]: Realtek Semiconductor Co., Ltd. RTL8125 2.5GbE Controller [10ec:8125] (rev 05)
Find your GPU in the output. Ideally, it stands alone or with non-essential devices. If grouped with essentials (USB, network), you might need to pass more than planned or use ACS override patches (advanced territory that I will not be covering).
You can see my GPU on 00:02.0. This is my QuickSync GPU.
Configuring Proxmox for GPU Passthrough
If your hardware checks out, congrats, now on to configuration:
1. Enable IOMMU in Proxmox:
- Edit
/etc/default/gruband changeGRUB_CMDLINE_LINUX_DEFAULT:
nano /etc/default/grub
Intel example:
GRUB_CMDLINE_LINUX_DEFAULT="quiet intel_iommu=on iommu=pt"
AMD example:
GRUB_CMDLINE_LINUX_DEFAULT="quiet amd_iommu=on iommu=pt"
Update grub with:
update-grub
2. Load VFIO modules:
Add these to /etc/modules:
nano /etc/modules
Paste these in:
vfio
vfio_iommu_type1
vfio_pci
vfio_virqfd
3. Blacklist host GPU drivers:
For Intel iGPU (QuickSync):
echo "blacklist i915" >> /etc/modprobe.d/blacklist.conf
For NVIDIA:
echo "blacklist nouveau" >> /etc/modprobe.d/blacklist.conf
For AMD:
echo "blacklist amdgpu" >> /etc/modprobe.d/blacklist.conf
4. Bind GPU to VFIO: Find your GPU’s PCI ID:
lspci -nn | grep -E "VGA|3D|Display"
Then create /etc/modprobe.d/vfio.conf:
nano /etc/modprobe.d/vfio.conf
Paste this (Replace YOUR_GUP_ID with your ID example 00:02.0):
options vfio-pci ids=YOUR_GPU_ID
5. Rebuild initramfs and reboot:
update-initramfs -u
Then reboot
reboot
VM Setup: The Fun Part
In Proxmox UI:
- Edit your VM → Hardware → Add PCI Device
- Select your GPU (and its audio function, if present)
- Check “All Functions” and “Primary GPU” if necessary
- For some VMs (Windows), you may need a matching VBIOS/ROM file
- Boot VM and install drivers (Linux:
intel-media-driverfor QuickSync, or the Windows/OS driver you need)
Passing through both graphics and audio functions mimics real hardware. The “All Functions” and “Primary GPU” options help make the transition smooth, especially for picky OSes like Windows.
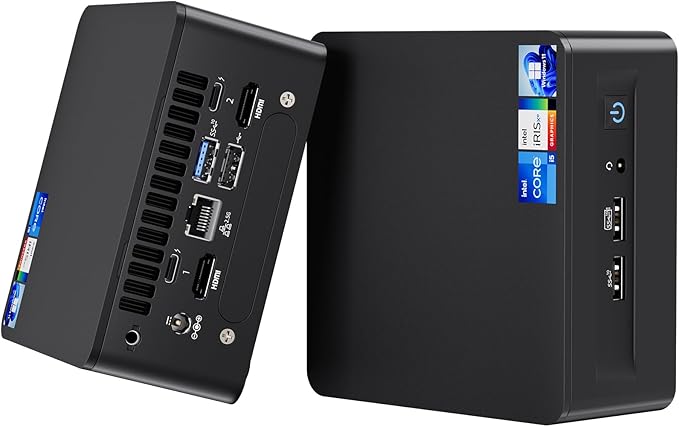
Intel NUC 12 Pro (NUC12WSHi5) Compact mini PC for lightweight servers, GPU Passthrough, Docker stacks, and VMs.
Contains affiliate links. I may earn a commission at no cost to you.
Troubleshooting: When Things Go Sideways
Proxmox PCIe passthrough feels like wizardry, until it doesn’t. If you get a black screen or your VM crashes, don’t panic:
- Double-check driver blacklists: One typo can ruin your weekend
- Confirm IOMMU:
dmesg | grep IOMMUshould show happy messages - Rely on SSH/IPMI over the local console
- Check
/var/log/syslogand VM logs for PCI errors - Try another PCI slot or disable peripheral devices
If your system is completely unresponsive, comment out VFIO and GPU configurations, rebuild initramfs, and reboot. Most disasters are reversible if you don’t panic.
Gotchas, Caveats, and Advanced Notes
Single-GPU pass-through disables your Proxmox host’s display.
You will lose all video output on the host, and recovery requires remote access or another GPU.
NVIDIA consumer cards may throw tantrums.
Windows “Code 43” errors can appear.
Hyper-V spoofing and other tweaks often help.
QuickSync isn’t always present—verify your CPU model.
Xeon CPUs may lack QuickSync even if they have integrated graphics.
Always check official Intel docs:
Intel Product Details
LXC vs. VM passthrough are different creatures.
LXCs share hardware via device mapping.
VMs demand exclusive, full PCI assignment.
EULA caveats for consumer GPUs in datacenters.
NVIDIA and AMD consumer cards often restrict use in virtualized environments (especially commercial/datacenter).
Common Misconceptions
- Myth: Any consumer GPU works.
- Reality: Pro cards (Quadro/Radeon Pro) are better supported.
- Myth: Rebooting fixes EVERYTHING.
- Reality: Sometimes you need to completely remove and re-add the GPU or reset the PCIe slot.
- Myth: Passthrough is rock-solid once it boots.
- Reality: VM restarts may need extra care (cold boots, PCIe resets).
Recovery, Best Practices, and Sanity Saving
- Use multiple GPUs if possible (one for Proxmox, one for your VM).
- Always set up SSH or IPMI access before tinkering.
- Backup
/etc/pvebefore major changes. - Keep copies of your IOMMU and driver blacklist configs.
- If locked out: Boot live USB, chroot, and reverse your changes step-by-step.
For stability:
- Match your VM’s drivers to your GPU
- Set VM CPU type to
hostor enable passthrough - Only pass through required PCI devices
Successful GPU passthrough means less troubleshooting, and more transcoding, and/or gaming.
Wrapping Up: Your QuickSync/VM-Turbocharging Journey
GPU passthrough on Proxmox is like taming a clever, unpredictable cat. When it works, your VM doesn’t know it’s virtual anymore, and you’ll watch QuickSync or your RTX card rev through tasks you once thought were impossible. However, when it doesn’t… you’ll become very familiar with the recovery console.
Key Takeaways:
- Passthrough gives your VM direct hardware access but your host loses it. Plan accordingly.
- Never pass through your last GPU unless you’re ready for a headless server.
- IOMMU groups, BIOS settings, and Proxmox module configs must all align.
- Backup before making changes.
- Know your command line for when things go wrong, it’s your lifeline.
The beauty of proxmox pcie passthrough is in blending virtualization flexibility with true GPU performance. Once you nail it, your gpu passthrough virtual machine setup will deliver transcoding, and gaming power without compromise.
Need more information?
Now go forth and make your hardware dance. Your QuickSync and GPU passthrough adventure in Proxmox awaits!
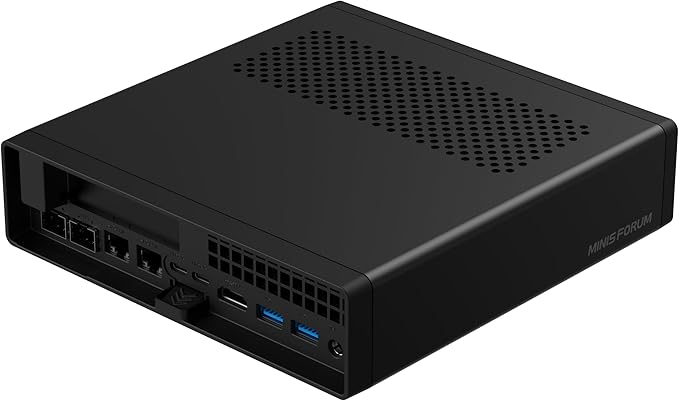
MINISFORUM MS-A2 A Ryzen-powered beast in a mini PC shell. Dual 2.5GbE, 10GbE option, triple NVMe. Small box, big Proxmox energy.
Contains affiliate links. I may earn a commission at no cost to you.
