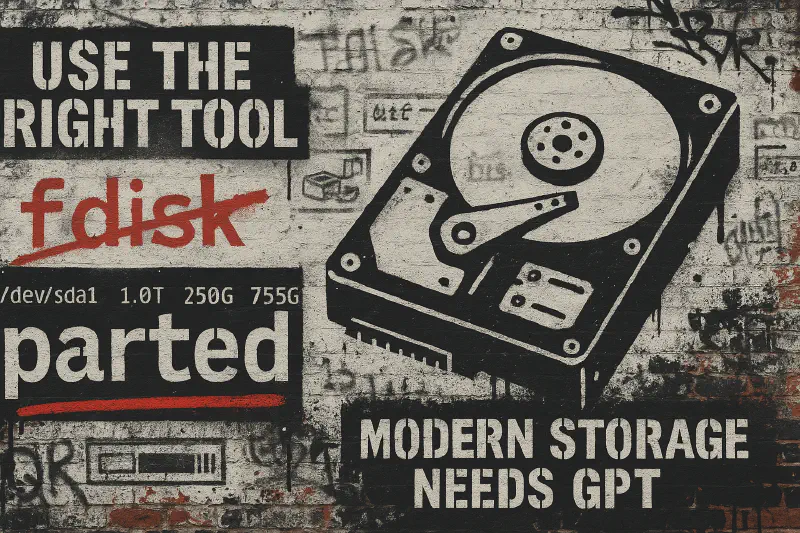
You purchased a new multi-terabyte drive for your media server and are ready to slap it into service. But hold up, before you run fdisk like it’s 1999, it’s worth knowing it is no longer the right tool for the job. If your drive is over 2TB you need to use GPT instead of MBR. fdisk cannot create GPT partitions, so parted is the way to go.
I’ll walk you through how to use parted to create partitions, format them, and set up automatic mounting using fstab.
Why Parted Over Fdisk?
fdisk only works with MBR partition tables, which limits your partition sizes to 2TB. That’s a deal-breaker for modern drives. parted, on the other hand, works with both MBR and GPT and doesn’t care how big the drive is.
It also has more robust support for scripting, alignment, and resizing. If you’re working with advanced setups or need to future-proof your system, parted is the tool to learn.
fdisk vs parted: Feature Comparison
| Feature | fdisk |
parted |
|---|---|---|
| Partition Table Support | MBR (Master Boot Record) only | MBR and GPT (GUID Partition Table) |
| Maximum Disk Size | Up to 2TB | Supports disks larger than 2TB |
| Partition Resizing | Not supported | Supports resizing and moving partitions |
| Filesystem Creation | No (requires separate tools like mkfs) |
Yes (can create filesystems during partitioning) |
| User Interface | Text-based, menu-driven | Command-line and scriptable interface |
| Advanced Features | Basic partitioning tasks | Advanced features like alignment and scripting |
| Best Use Case | Simple setups with MBR partitioning | Complex setups, large disks, GPT partitioning |
When to Use Each Tool
-
Use
fdiskfor straightforward partitioning tasks on disks smaller than 2TB using the MBR scheme. It’s suitable for legacy systems and simple setups. -
Use
partedwhen dealing with disks larger than 2TB, requiring GPT partitioning, or needing advanced features like resizing partitions and scripting. It’s ideal for modern systems and complex configurations.
Setting Up Your New Drive with Parted
Here’s how to prep that new drive using parted.
Step 1: Identify the Target Disk
Run:
lsblk
Look for the disk you just installed. If it’s /dev/sdb and it’s showing no partitions, that’s the one we’ll use.
⚠️ Triple-check you’ve got the right disk before proceeding.
Step 2: Install and Launch Parted and Create a GPT Partition Table
Install parted:
sudo apt install parted
Start parted:
sudo parted /dev/sdb
Set the disk label to GPT (recommended for drives over 2TB or UEFI systems):
In the parted shell:
mklabel gpt
Step 3: Create a New Partition
Still inside parted:
mkpart primary xfs 0% 100%
You can swap out xfs for another filesystem label if you plan to use ext4 or btrfs later. Don’t worry, this step doesn’t actually format the drive, it just defines what it’s for.
Now type:
quit
Step 4: Format the New Partition
Run:
sudo mkfs.xfs /dev/sdb1
You can use ext4 if you prefer, but for media servers handling big files, XFS is fast and reliable.
Step 5: Create a Mount Point
Let’s say you’re adding a 5th disk to a mergerFS pool:
sudo mkdir -p /mnt/pool0/disk5
Step 6: Mount It for Testing
Test it out before making anything permanent:
sudo mount /dev/sdb1 /mnt/pool0/disk5
Check that it worked:
df -h
You should see /dev/sdb1 mounted at /mnt/media.
Step 7: Add It to fstab
First, grab the UUID:
sudo blkid /dev/sdb1
You’ll get something like:
UUID="abc123-xyz789" TYPE="xfs"
Copy the UUID
Edit your fstab:
sudo nano /etc/fstab
Add this line:
UUID=abc123-xyz789 /mnt/media xfs defaults 0 0
Save and exit.
Step 8: Test Your fstab Config
Unmount the drive:
sudo umount /mnt/pool0/disk5
Now reload fstab:
sudo mount -a
If you get no errors, you’re good to go.
Wrapping Up
parted isn’t just a newer tool, it’s the right one when working with modern storage. You’ve now set up your drive with a GPT table, created a partition, formatted it, and mounted it with fstab. All without hitting the 2TB wall that haunts fdisk.
Next time you drop a new drive into your rig, make parted your go-to tool. Your future self will thank you.
Don’t have a new drive yet pick one up here:

