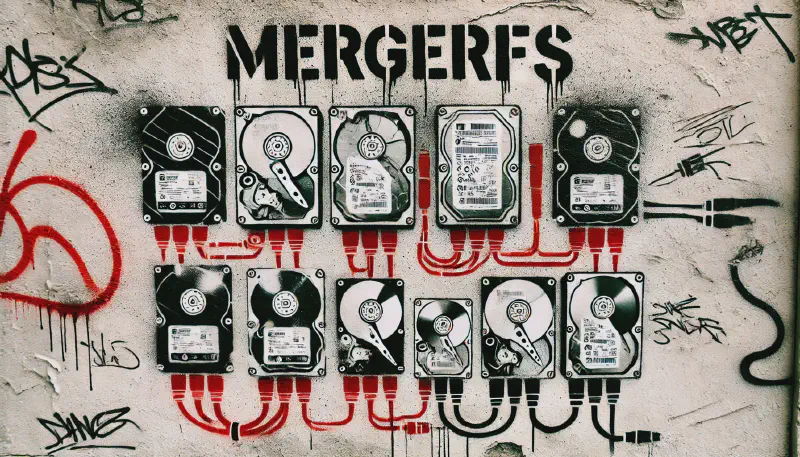
What if You Could Combine Multiple Drives into One? If you’re like me, you buy hard drives whenever you find the best price per terabyte. Over time, this leads to a mix of different-sized drives, making storage management a nightmare. Your media files end up scattered across multiple disks, and figuring out where everything is stored becomes a hassle. Wouldn’t it be great if all your drives worked together as one seamless storage pool? That’s exactly what MergerFS does.
MergerFS is a game-changer for home media server users who want flexibility and simplicity. It lets you combine multiple drives into a single virtual drive without the complexity of RAID setups or the risk of losing all your data if a drive fails. The best part? It integrates perfectly with tools like Sonarr, Radarr, and Jellyfin.
In this guide, I’ll explain how MergerFS works, walk you through the best configuration options, and show you how to install it on your media server. By the end, you’ll have a streamlined storage pool that maximizes your available space and keeps your files organized.
Examples of how this can happen:
When you find great deals on random drive sizes like this:
- Seagate BarraCuda 8TB Internal Hard Drive
- Western Digital 14TB Internal Hard Drive
- Toshiba N300 12TB Internal Hard Drive
Seagate Barracuda 24TB Internal Hard Drive
Contains affiliate links. I may earn a commission at no cost to you.
What is MergerFS and Why Do You Need It?
MergerFS is a union filesystem for Linux that lets you combine multiple storage devices into a single mount point. Instead of managing separate drives, you get to access all your files from one unified location. Unlike traditional RAID setups, MergerFS is:
✅ Flexible – You can add or remove drives anytime without having to rebuild an array.
✅ Safe – If a drive fails, you don’t lose all your data (unlike RAID 0).
✅ Simple – Works with standard filesystems like ext4, XFS, and Btrfs.
✅ Transparent – You don’t need any special tools to access your data if you decide to remove a drive.
How It Works
Think of MergerFS as a smart directory manager. It doesn’t move your files around or create duplicates. Instead, it shows you a virtual filesystem where all your drives appear as one.
For example, if you have:
/mnt/disk1/Movies//mnt/disk2/Movies//mnt/disk3/Movies/
MergerFS lets you access everything under:
/mnt/storage/Movies/
Now, apps like Jellyfin or Sonarr only need to look in one place, and they don’t care where the actual files reside!
How to Install MergerFS on Your Linux Server
MergerFS is available for most Linux distributions. Here’s how to install it on Debian-based systems (Ubuntu, Proxmox, etc.) and Arch Linux.
Install on Ubuntu/Debian
First, update your package list and install MergerFS:
sudo apt update && sudo apt install mergerfs -y
Verify Installation
Once installed, check the version to confirm it’s working:
mergerfs -V
Best MergerFS Configuration for a Home Media Server
Setting up MergerFS correctly ensures efficient file placement and seamless operation with media apps. Below is my recommended setup that balances performance and flexibility.
Step 1: Mount Your Drives
Before configuring MergerFS, make sure your drives are mounted. You can list available drives using:
lsblk -o NAME,FSTYPE,MOUNTPOINT,SIZE
For example, if your drives are /dev/sdb1 and /dev/sdc1, create mount points:
sudo mkdir -p /mnt/disk1 /mnt/disk2
Then mount them manually (replace ext4 with your actual filesystem type):
sudo mount -t ext4 /dev/sdb1 /mnt/disk1
sudo mount -t ext4 /dev/sdc1 /mnt/disk2
Step 2: Create a MergerFS Pool
Now, create a new directory for your MergerFS mount:
sudo mkdir -p /mnt/storage
Then mount the drives using MergerFS:
sudo mergerfs -o defaults,allow_other,use_ino,cache.files=off,dropcacheonclose=true,minfreespace=50G,category.create=mfs /mnt/disk* /mnt/storage
Understanding the Options
Let’s break down the key options:
allow_other→ Allows other users (like Jellyfin, Sonarr) to access the files.use_ino→ Helps avoid issues with file system operations.cache.files=off→ Prevents problems with cached files.dropcacheonclose=true→ Ensures proper file updates.category.create=mfs→ Distributes new files across the drives evenly.minfreespace=50G→ Stop writing to the disk when there is less than 50GB of free space.
Step 3: Make the MergerFS Mount Permanent
Edit your /etc/fstab file to ensure the pool mounts at boot:
sudo nano /etc/fstab
Add this line at the bottom (adjust paths as needed):
/mnt/disk* /media/Storage fuse.mergerfs direct_io,defaults,allow_other,noforget,dropcacheonclose=true,category.create=mfs,minfreespace=50G,fsname=storage 0 0
Save and exit (CTRL+X, then Y and ENTER).
Finally, reload the fstab configuration:
sudo mount -a
Optimizing MergerFS for Media Servers
Now that MergerFS is running, let’s optimize it for media handling.
Best category.create Policy
The category.create option determines where new files are placed.
mfs(Most Free Space) → Best for evenly spreading files across drives.epmfs(Existing Path, Most Free Space) → Ideal if you want files grouped together.lus(Least Used Space) → Can improve performance by filling up one drive at a time.
For media servers, mfs is usually the best choice because it balances space usage.
Handling Deleted Files
When you delete a file from a MergerFS pool, it only removes it from the original drive. If a file appears to still exist, try refreshing the filesystem cache:
sync && echo 3 | sudo tee /proc/sys/vm/drop_caches
Why MergerFS is Perfect for Home Media Servers
MergerFS is the ideal solution for combining multiple drives into a single storage pool. It’s flexible, easy to set up, and plays perfectly with apps like Jellyfin, Sonarr, and Radarr.
Key Benefits:
✅ Easy Setup – No complicated RAID configurations.
✅ No Data Loss Worries – Each drive is independent, so no risk of losing everything if one fails.
✅ Flexible Expansion – Add or remove drives whenever you need.
✅ Built for Media Servers – Works seamlessly with Jellyfin, Proxmox, and Docker.
If you’re tired of juggling individual disks, MergerFS is the solution. Install it, set it up right, and enjoy a streamlined, organized media library.