Why Everyone Gets This Wrong
People treat unprivileged LXC like it’s cursed black magic. “You can’t do NFS!” “GPU passthrough is impossible!” “Just use a VM, it’s easier!”
Complete bullshit.
You absolutely can run Jellyfin with Intel QuickSync transcoding in an unprivileged LXC container. The problem isn’t the technology, it’s that most tutorials skip the crucial details or rely on hacky workarounds that break on the first system update.
This guide walks you through the proper way to set up hardware-accelerated Jellyfin transcoding in an unprivileged LXC on Proxmox. No sketchy scripts. No Snap packages. No privileged containers. Just clean, secure, transcoding.
Why VMs Are Overkill for This Job
Before we dive in, let’s destroy the lazy “just use a VM” argument once and for all.
The Resource Waste is Criminal
Running Jellyfin in a VM means you’re literally wasting resources you paid for:
- Memory: 512MB-1GB VM overhead vs. 10-20MB for LXC
- Storage: 12-20GB VM footprint vs. 400-800MB container
- Boot time: 30-60 seconds vs. 2-5 seconds
- Backups: 10-20GB snapshots vs. 200-500MB
On a typical 16GB homelab box, that VM overhead costs you 2-3 additional services you could be running.
GPU Passthrough Complexity
- VM route: VFIO setup, IOMMU groups, driver blacklisting, potential single-GPU nightmares.
- LXC route: Map device nodes. Done.
Every disk I/O and network packet in a VM goes through unnecessary virtualization layers. LXC gives you direct host kernel access with zero translation overhead.
The “Easier” Myth
People claim VMs are “easier” because they’re familiar. That’s not easier. That’s just lazy. You are wasting resources, creating a more complex GPU passthrough, larger backups, and full OS maintenance overhead for zero benefit. VMs make sense for different kernels, untrusted workloads, or legacy apps that need system control. For a media server? Not so much.
The Real Reason
Fear. Fear of learning device mapping. Fear of doing things better instead of familiar. This guide eliminates that fear. Once you understand LXC device passthrough, you’ll wonder why you ever considered wasting resources on a VM for simple application hosting.
Prerequisites: What You Need
Hardware Requirements
- Intel 8th gen CPU or newer with integrated graphics (Coffee Lake+)
- QuickSync support enabled in BIOS
- Proxmox VE 7.0+ host
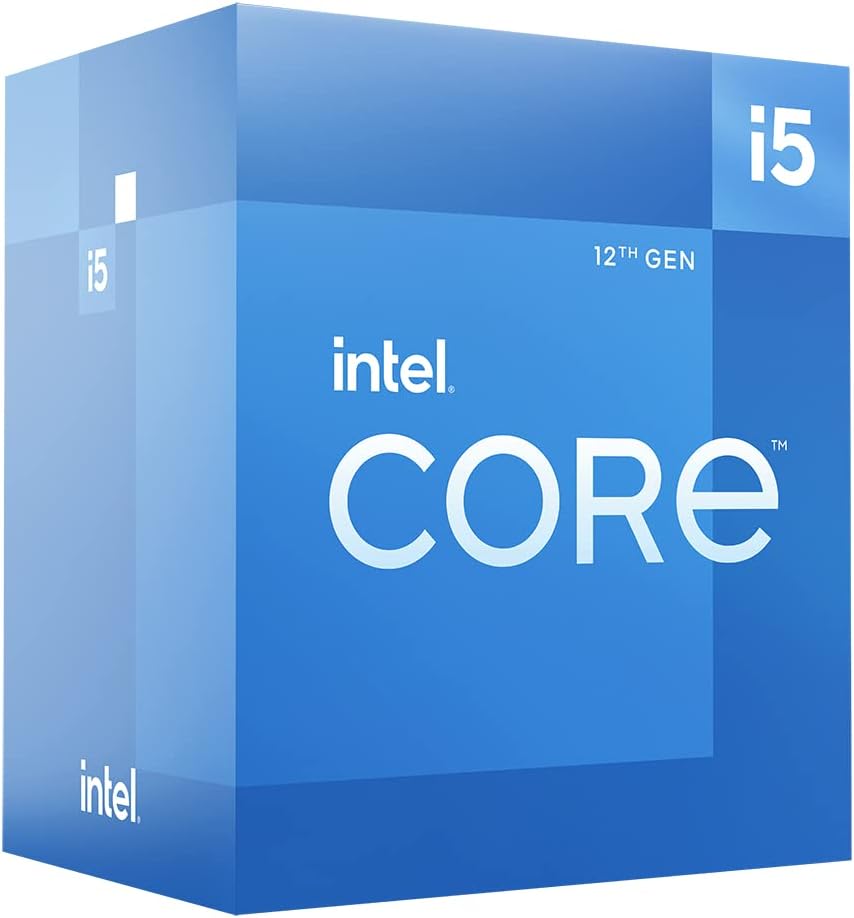
Intel® Core™ i5-12500 12th Generation Desktop Processor
Forget GPUs. This 12th-gen i5 packs QuickSync with UHD 770 graphics, enough to power 4K → 1080p transcodes like a champ. You’ll push 10+ simultaneous 1080p streams with near-zero CPU load. Ideal for low-power, headless Proxmox boxes that run hot and quiet. No dGPU? No problem.
Contains affiliate links. I may earn a commission at no cost to you.
Supported Codecs
Intel QuickSync can hardware-accelerate:
- H.264 (AVC) - encode/decode
- H.265 (HEVC) - encode/decode (9th gen+)
- VP9 - decode only (some newer CPUs)
- AV1 - decode only (12th gen+)
This is an in-depth topic.
Any missed or skipped details could casue Quicksync transcoding to not work correctly.
All commands and confs have been tested and re-tested to ensure everything is accurate.
Step 1: Verify Your Hardware Setup
Before diving into container configuration, confirm your hardware is ready.
Check iGPU Detection
On your Proxmox host:
ls -la /dev/dri/
You should see something like:
crw-rw---- 1 root video 226,   0 card0
crw-rw---- 1 root render 226, 128 renderD128
card0- Display interface (major:minor = 226:0)renderD128- Render interface for compute (major:minor = 226:128)
Understanding Device Major:Minor Numbers
When you see 226:0 and 226:128 in the GPU device configuration, these aren’t random numbers, they’re part of Linux’s device identification system. Understanding them is crucial for GPU passthrough because you need to grant the container permission to access these specific device numbers.
What the Hell Are Major:Minor Device Numbers?
In Linux, every hardware device is represented by a file in /dev/. But don’t get too excited, are not files you can open and modify. They are more like hotline numbers that the kernel uses to dial up the right hardware driver.
Each device file has two ID numbers:
- Major Number: Identifies the device driver/subsystem
- Minor Number: Identifies the specific device within that subsystem
Think of it like a phone system:
- Major number = Area code (which phone company/region)
- Minor number = Local number (which specific phone)
Load Intel Graphics Driver
Ensure the i915 kernel module is loaded:
lsmod | grep i915
Load if missing:
modprobe i915
Make persistent across reboots:
echo "i915" >> /etc/modules
Verify QuickSync Capability
Install tools if not present:
apt install intel-gpu-tools vainfo intel-media-va-driver-non-free
Check available encoders
vainfo | grep -i enc
Look for entries like:
      VAProfileH264Main               : VAEntrypointEncSliceLP
      VAProfileH264High               : VAEntrypointEncSliceLP
      VAProfileJPEGBaseline           : VAEntrypointEncPicture
      VAProfileH264ConstrainedBaseline: VAEntrypointEncSliceLP
      VAProfileHEVCMain               : VAEntrypointEncSliceLP
      VAProfileHEVCMain10             : VAEntrypointEncSliceLP
      VAProfileVP9Profile0            : VAEntrypointEncSliceLP
      VAProfileVP9Profile1            : VAEntrypointEncSliceLP
      VAProfileVP9Profile2            : VAEntrypointEncSliceLP
      VAProfileVP9Profile3            : VAEntrypointEncSliceLP
      VAProfileHEVCMain444            : VAEntrypointEncSliceLP
      VAProfileHEVCMain444_10         : VAEntrypointEncSliceLP
      VAProfileHEVCSccMain            : VAEntrypointEncSliceLP
      VAProfileHEVCSccMain10          : VAEntrypointEncSliceLP
      VAProfileHEVCSccMain444         : VAEntrypointEncSliceLP
      VAProfileHEVCSccMain444_10      : VAEntrypointEncSliceLP
If you don’t see these, your CPU might not support QuickSync or it’s disabled in BIOS.
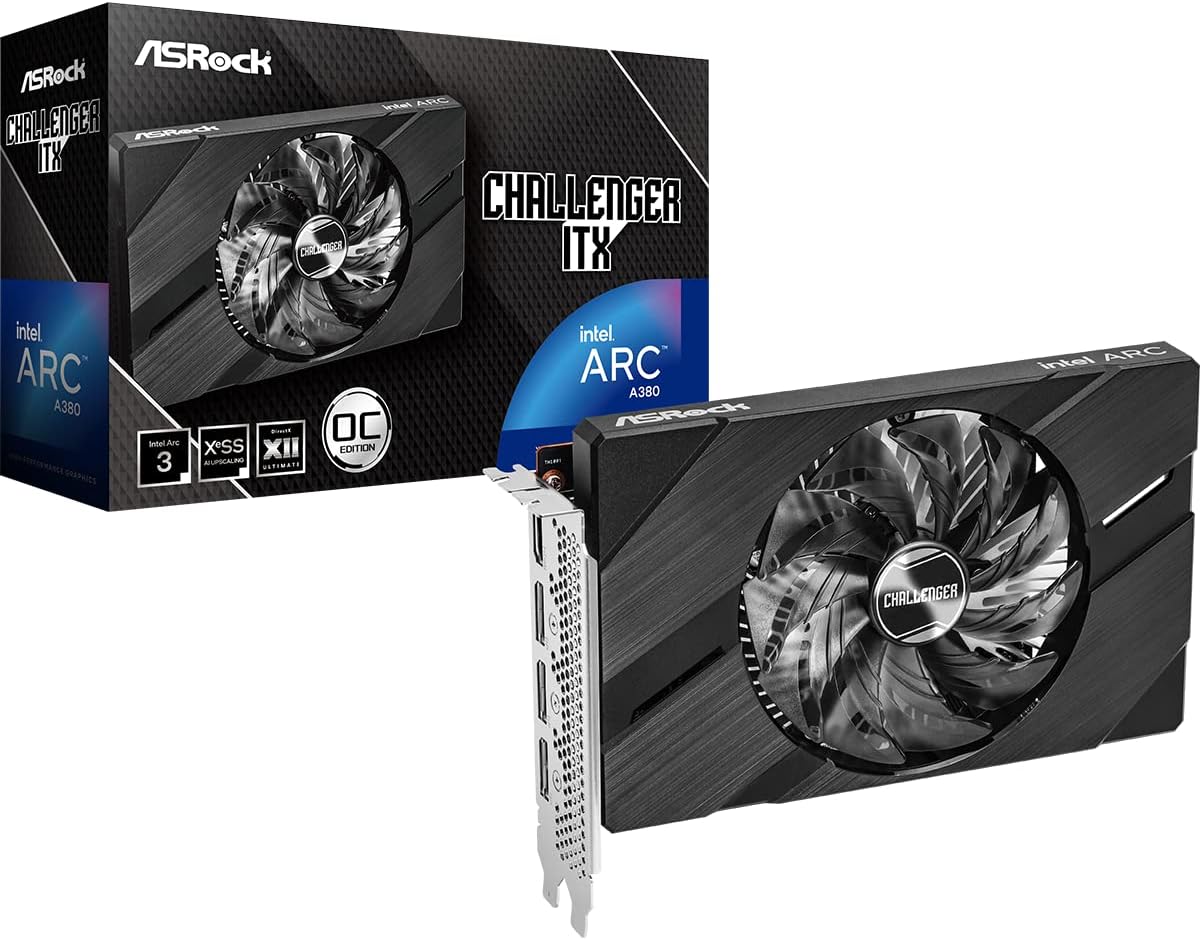
ASRock Intel ARC A380 Challenger
The Arc A380 isn’t for gaming—it’s for obliterating video streams. With support for H.264, HEVC, and full AV1 hardware encode/decode, it crushes 20+ 1080p streams or 6–8 HDR tone-mapped 4Ks without breaking a sweat. Drop it in your media server, give Jellyfin direct VA-API access, and watch your CPU finally cool off for a bit.
Contains affiliate links. I may earn a commission at no cost to you.
Step 2: Create the LXC Container
In Proxmox web interface:
- Create CT → Use Ubuntu 24.04 LTS template (Jellyfin prefers Ubuntu over Debian)
- Keep “Unprivileged” checked (this is crucial)
- Resources:
- CPU: 2-4 cores
- RAM: 2GB minimum, 4GB recommended
- Disk: 80GB+ for Jellyfin metadata and cache
- Network: Bridge to your main network
- Don’t start the container yet
Step 3: Configure Device Access
This is where the magic happens. Edit /etc/pve/lxc/<CTID>.conf and add:
Allow access to DRI devices:
lxc.cgroup2.devices.allow: c 226:0 rwm
lxc.cgroup2.devices.allow: c 226:128 rwm
Mount DRI devices into container:
lxc.mount.entry: /dev/dri/ dev/dri/ none bind,optional,create=dir
What These Lines Do
lxc.cgroup2.devices.allow- Grants permission to access specific device nodeslxc.mount.entry- Bind mounts the entire/dev/dridirectory into the container
Step 4: Handle Group ID Mapping (Critical!)
This step trips up 90% of people attempting GPU passthrough. Why: Unprivileged LXC containers use user namespaces to isolate processes, which means group IDs inside the container don’t directly correspond to group IDs on the host. Without proper mapping, your container processes can’t access the GPU devices even if the device files are present.
Understanding User Namespaces and ID Mapping
When Proxmox creates an unprivileged container, it maps container user/group IDs to a range of IDs on the host system. By default:
- Container UID/GID 0 (root) → Host UID/GID 100000
- Container UID/GID 1 → Host UID/GID 100001
- Container UID/GID 1000 → Host UID/GID 101000
- And so on…
This means when a process inside the container tries to access /dev/dri/renderD128 (owned by group ID 104 on the host), the kernel sees it as an access attempt from group ID 100104, which doesn’t exist and has no permissions.
The ID Mapping Strategy
We need to create “holes” in the default mapping to let specific container group IDs map directly to host group IDs. Think of it like creating bridges between the container and host for specific groups while keeping everything else isolated. This is similar to how firewall rules work.
Find the Host Group ID of
On the Proxmox host:
ls -n /dev/dri/renderD128
Output example:
crw-rw---- 1 0 104 226, 128 Nov 15 10:30 /dev/dri/renderD128
Breaking this down:
crw-rw----= Character device with read/write for owner/group0= Owner UID (root)104= Group ID that owns the device (usually render group)226, 128= Major:minor device numbers
The 104 is what we need to remember. This is the host group ID we need to map later.
Standardize GPU Device Ownership
Instead of dealing with potentially different group IDs for different GPU devices, let’s ensure both GPU devices use the same group:
Change the group for card0
chgrp render /dev/dri/card0
Make it persistent:
echo 'SUBSYSTEM=="drm", KERNEL=="card0", GROUP="render", MODE="0660"' > /etc/udev/rules.d/99-render.rules
udevadm control --reload-rules && udevadm trigger
Now both card0 and renderD128 should be owned by the same group ID (usually 104 for render).
Create User in Container
Start the container and enter the console to create the Jellyfin user:
adduser jellyfin --system --group --home /var/lib/jellyfin
Create the group render
groupadd -g 993 render
Add the render group to the Jellyfin user:
usermod -aG render,media jellyfin
Why GID 993?
We’re going to map container GID 993 to host GID 104 (the render group).
The choice of 993 is arbitrary, it just needs to be:
- Available in the container (not already used)
- Consistent with our mapping configuration
Show the group IDs of the user jellyfin:
id jellyfin
Make sure the 993 render group is listed.
Configure ID Mapping
media with an ID of 1001 to access your media.If yours is diffrent replace any refernces to
media and 1001 with your own.
/etc/pve/lxc/<CTID>.conf:Map container UIDs/GIDs to host:
lxc.idmap: u 0 100000 65536
lxc.idmap: g 0 100000 993
lxc.idmap: g 993 104 1
lxc.idmap: g 994 100994 7
lxc.idmap: g 1001 1001 1
lxc.idmap: g 1002 101002 64534
Detailed Breaking Down Each Mapping Line:
lxc.idmap: u 0 100000 65536
- Maps all container UIDs (user IDs) normally
- Container UID 0 → Host UID 100000
- Maps 65536 UIDs total (standard range)
- This line handles all user accounts
lxc.idmap: g 0 100000 993
- Maps container GIDs 0-992 to host GIDs 100000-100992
- This is the “normal” mapping for system groups
- Stops at 992 to leave room for our special mapping
lxc.idmap: g 993 104 1
- This is the critical line.
- Maps container GID 993 → host GID 104 (render group)
- Only maps 1 GID (just this specific group)
- This creates our bridge to GPU device access
lxc.idmap: g 994 100994 7
- Resumes normal mapping for GIDs 994-1000
- Maps to host GIDs 100994-101000
- Fills the gap between our special mapping and media group
lxc.idmap: g 1001 1001 1
- Maps container GID 1001 → host GID 1001 (media group)
- Assumes your media files are owned by GID 1001
- Adjust this to match your actual media group ID
lxc.idmap: g 1002 101002 64534
- Resumes normal mapping for all remaining GIDs
- Maps container GIDs 1002-65535 → host GIDs 101002-165535
- Handles any additional groups that might be created
Update Host Subordinate GIDs
On the Proxmox host add the render and media groups to the subgid file:
echo "root:104:1" >> /etc/subgid
and
echo "root:1001:1" >> /etc/subgid
This tells the system that the root user (which manages LXC containers) can map:
- Host GID
104(render group) into containers - Host GID
1001(media group) into containers
Step 5: Install Software Stack
Start the container and install the required packages:
Update package lists:
apt update && apt upgrade -y
Install Intel GPU drivers and tools
apt install intel-gpu-tools intel-media-va-driver libdrm-intel1 vainfo curl gnupg software-properties-common -y
Add Jellyfin repository:
Pull the gpg key:
curl -fsSL https://repo.jellyfin.org/jellyfin_team.gpg.key | gpg --dearmor -o /usr/share/keyrings/jellyfin-archive-keyring.gpg
Add the Repository:
echo "deb [signed-by=/usr/share/keyrings/jellyfin-archive-keyring.gpg] https://repo.jellyfin.org/ubuntu $(lsb_release -cs) main" > /etc/apt/sources.list.d/jellyfin.list
Install Jellyfin:
apt update && apt install jellyfin -y
Why Not Snap/Flatpak/Docker?
- Snap: Broken device access due to confinement
- Flatpak: Similar sandboxing issues
- Docker: Adds unnecessary complexity to device mapping
APT packages have proper system integration and device access.
Step 6: Verify Device Access
Check Device Permissions
Inside the container:
ls -la /dev/dri/
You should see:
crw-rw---- 1 nobody render 226,   0 card0
crw-rw---- 1 nobody render 226, 128 renderD128
If the group isn’t render, you need to check your:
lxc.mount.entry and/or lxc.idmap entries in the LXC conf file.
Test Hardware Acceleration
Read Test:
sudo -u jellyfin test -r /dev/dri/renderD128 && echo "Readable"
Write Test:
sudo -u jellyfin test -w /dev/dri/renderD128 && echo "Writable"
Step 7: Configure Jellyfin
Access Web Interface
Navigate to http://<container-ip>:8096 and complete the initial setup wizard.
Enable Hardware Acceleration
- Dashboard → Playback → Transcoding
- Hardware acceleration: Intel QuickSync (QSV)
- Enable hardware decoding for: H264, HEVC, VP9 (as supported)
- Enable hardware encoding: Yes
- Enable VPP Tone mapping: Yes (for HDR content)
- Save
Advanced Settings
For better performance:
- Allow encoding in HEVC format: Yes (if supported)
- Transcoding thread count: Auto
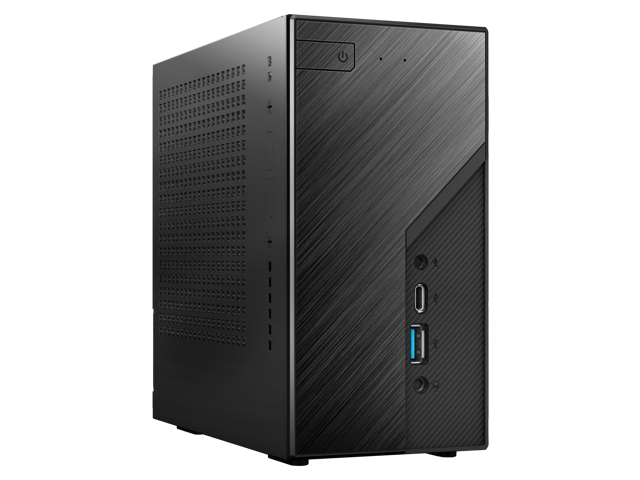
Need a Mini Server?
The DeskMini B760 is a compact and powerful barebone system perfect for homelab use. It supports 14th Gen Intel CPUs, dual DDR4 RAM up to 64GB, and fast storage via M.2 slots plus dual 2.5" drive bays. It’s ideal for running lightweight VMs and/or containers.
Contains affiliate links. I may earn a commission at no cost to you.
Step 8: Test Hardware Transcoding
Force Transcoding Test
- Upload a high-bitrate H.264/HEVC video to Jellyfin
- Start playback and immediately change quality to force transcoding
- On the Proxmox host (not in container) run:
intel_gpu_top
You should see spikes in the Video engine usage during transcoding.
Browser Verification
In Chrome/Edge:
- Navigate to
chrome://media-internals/ - Start playing your test video
- Look for:
video_codec: h264orhevchardwareAccelerated: true
Jellyfin Dashboard
Check Dashboard → Activity for active transcodes. Hardware transcoding shows much lower CPU usage than software.
Troubleshooting Guide
| Problem | Symptoms | Solution |
|---|---|---|
| No /dev/dri in container | Missing device files | Check lxc.mount.entry in config |
| Permission denied on GPU | “Cannot access /dev/dri/renderD128” | Fix GID mapping or group membership |
| vainfo fails | “libva error” or crashes | Normal in LXC - test via Jellyfin instead |
| CPU still transcoding | High CPU usage during playback | Enable QSV in Jellyfin playback settings |
| Transcoding fails entirely | Playback errors or fallback to direct play | Check Jellyfin logs for codec support issues |
| GPU owned by wrong group | Device shows render/video instead of jellyfin | Map to correct host group ID |
Advanced Debugging
Check Jellyfin logs:
tail -f /var/log/jellyfin/jellyfin.log
Verify codec support:
ffmpeg -hide_banner -encoders | grep qsv
Performance Expectations
Transcoding Capacity
Intel QuickSync can typically handle:
- 8th-10th gen: 4-6 simultaneous 1080p H.264 transcodes
- 11th gen+: 6-8 simultaneous 1080p transcodes, 2-3 4K HEVC
- 12th gen+: 8-10 simultaneous 1080p, 3-4 4K transcodes
Quality Considerations
- Hardware encoding produces slightly larger files than software (x264)
- Quality is excellent for streaming but may not match software for archival
- HEVC hardware encoding (if available) provides better efficiency than H.264
Additional Optimizations
Performance Tweeks
Memory Tuning
For 4K transcoding, increase container RAM:
memory: 4096
CPU Priority
Give transcoding higher priority:
cores: 4
cpulimit: 0
cpuunits: 1024
What About NFS?
Since we’re on the topic of “impossible” things in unprivileged LXC:
NFS works perfectly fine. Mount it on the host, then bind mount into the container:
Host:
mount -t nfs nas.local:/volume1/media /mnt/nas-media
Container config:
In /etc/pve/lxc/CTID.conf add:
mp0: /mnt/nas-media,mp=/mnt/media
Security Benefits
This setup provides several security advantages over alternatives:
- Process isolation: Jellyfin runs in its own namespace
- Limited privilege: No root access to host system
- Resource limits: CPU/memory can be strictly controlled
- Network isolation: Can be restricted to specific VLANs
- Minimal attack surface: Only required devices are exposed
Conclusion
Unprivileged LXC containers are not the limitation—lack of understanding is. With proper device mapping and group management, you get the security benefits of containerization with near-native hardware performance.
This setup gives you:
- Secure, unprivileged execution
- Direct GPU access without overhead
- Professional-grade media streaming
- Easy maintenance and updates
Stop settling for bloated VMs or dangerous privileged containers. Master the mappings and run Jellyfin the right way.
Next Steps
Want to level up further? Consider:
- Remote storage: Set up NFS/SMB mounts for media libraries
- Reverse proxy: Add Nginx/Traefik for HTTPS and custom domains
- Backup strategy: Implement container snapshots and config backups
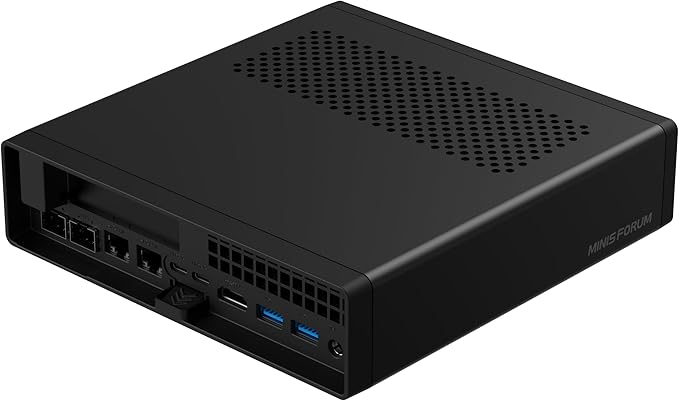
MINISFORUM MS-A2
A Ryzen-powered beast in a mini PC shell. Dual 2.5 GbE, 10 GbE option, triple NVMe. Small box, big Proxmox energy.
Contains affiliate links. I may earn a commission at no cost to you.
