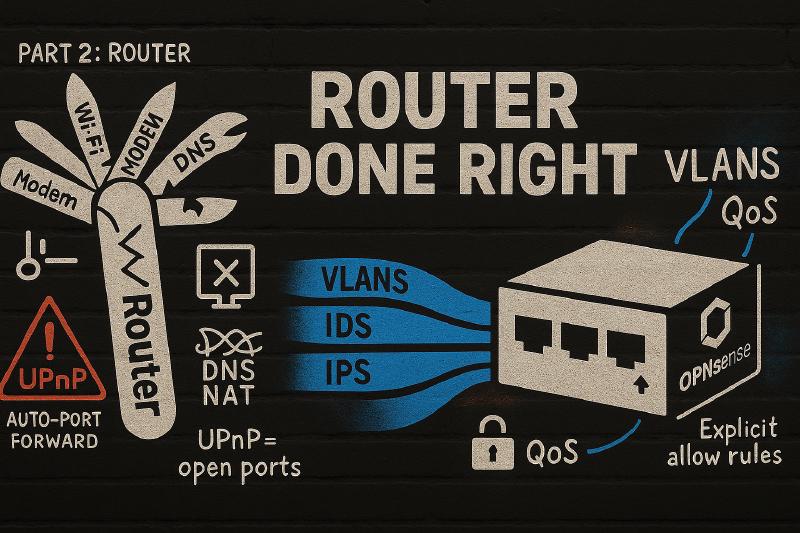
Consumer routers try to be everything: modem, router, switch, Wi-Fi, DNS, sometimes even a media server. When any piece fails, everything fails. The Wi-Fi radios cook themselves. Firmware updates brick the UI. NAT tables fill and kill your connections. Meanwhile, vulnerabilities sit unpatched for months.
I learned this the hard way..
My journey to a proper router started with a failed consumer device.
Then evolved into “I can just add a dual port NIC to the server and run my router in a VM”.
It started brilliantly but, it quickly turned into a twice-weekly nightmare.
The All-in-One Trap
I was running my entire homelab on a single Proxmox server: NAS, media server, download clients, home automation, everything. And because I was already virtualizing everything else, why not the router too?
It seemed elegant. One box, total control, efficient resource usage.
Then reality hit.
“Why is the internet out again?”
It was a Tuesday night. My wife was trying to stream something. I was in my office, staring at an LXC container that refused to stop, forcing me to reboot the entire Proxmox host. Again.
“Sorry, it should be back on in a few minutes. I had to reboot the server again.”
This happened once or twice a week. Sometimes it was NFS issues that wouldn’t resolve without a full reboot. Sometimes hardware failures. Sometimes it was just me testing something and broke it in unexpected ways. Each time, the entire house lost internet.
Five minutes of downtime doesn’t sound like much. But when it happens regularly, it stops being “a brief inconvenience” and starts being “why do we have internet problems all the time?”
The breaking point came when a power supply died at 9 AM on a Friday. The internet was down for four hours while I left work to drive to Best Buy for a replacement part. Not ideal when your wife works from home and needs reliable connectivity.
Before That: The Consumer Router Carousel
But let’s back up. Before I virtualized my router, I was doing what everyone does: buying consumer all-in-one routers and hoping they’d last.
For about 15 years, I cycled through them. Linksys. Netgear Nighthawks. ASUS routers. It didn’t matter which brand—they all developed issues after 2-3 years. Random reboots. WAN ports that just stopped working. WiFi that became progressively more unreliable until it wasn’t reliable at all.
Toward the end of each router’s life, I’d be rebooting it daily just to keep things working.
The pattern was always the same:
- Buy new router ($120-300)
- Works great for 18 months
- Starts having “quirks”
- Quirks become daily problems
- Replace and repeat
Over 15 years, I probably spent $1,500+ on routers that became e-waste. And that’s not counting the time spent troubleshooting, rebooting, and dealing with random failures.
The Solution: Separation
The answer was obvious in hindsight: stop trying to make one device do everything.
I started with an old computer running OPNsense. It wasn’t pretty, it wasn’t efficient, but it worked. More importantly, it kept working when I rebooted my Proxmox host.
I ran that setup for about six years. The old computer hummed along, doing its one job well, all while I learned what a proper router could actually do.
About two years ago, I upgraded to a Protectli Vault Pro VP2420 for better power efficiency and added a “managed” switch (SODOLA 8-Port 2.5Gb). The principle remained the same, just more refined.
Give each job a proper box:
- Router: Dedicated hardware running OPNsense
- Storage: Separate NAS that stays up 24/7
- Compute: Proxmox host for everything else
I’ll never forget the first time I rebooted my compute node after the separation. I hit the command, waited for the host to go down, and then… nothing happened. The internet stayed up. My wife kept streaming. Nobody called my name.
It was amazing.
What Actually Changed When I Switched
Before (Consumer/Virtualized Router):
Visibility: I could see connected devices and some basic stats. That’s it.
Security: A checkbox labeled “firewall enabled.” No logs, no alerts, no real control. When I checked my Jellyfin logs one day, I discovered someone in Romania had been hammering my server, trying to brute force the default username. My old router never told me this was happening.
Performance: 4K streaming while SABnzbd maxed out my download connection meant random buffering and frustrated family members.
Segmentation: Everything on one network. My Jellyfin server could see my IoT lightbulbs. My download containers could access my NAS directly. Zero isolation.
Uptime: Hostage to whatever I was doing on my Proxmox host. Every experiment, every update, every hardware issue meant the whole house went offline.
After (Dedicated OPNsense Box):
Visibility: Every connection, every blocked attempt, every DNS query. I see exactly what my network is doing.
Security: Five VLANs with explicit allow rules. IDS/IPS running Suricata with Emerging Threats rules. I see attempted port scans and exploit attempts weekly that my old setup never noticed. That Romanian brute force attempt? Now I’d see it in real-time and could block the entire country if needed. (All other countries are now blocked from everything I’m running)
Performance: QoS rules mean Jellyfin never stutters, even when SABnzbd maxes out the connection. Downloads automatically throttle when someone starts streaming. No manual intervention needed.
Segmentation:
- 10.0.1.x: Trusted devices (laptop, phone)
- 10.0.2.x: Media stack (Jellyfin, Sonarr, Radarr)
- 10.0.3.x: IoT devices (cameras, lights)
- 10.0.4.x: Guest WiFi (isolated)
- 10.0.5.x: Management interfaces
My IoT devices literally cannot see my NAS. The firewall says “Hell no”.
Uptime: Router runs independently. I can reboot, upgrade, or completely rebuild my compute node without anyone noticing.
The difference is night and day. I went from hoping my network was secure to knowing it is. I went from apologizing for internet outages to working on my servers whenever I need to.
Why Your Current Router is Failing You
What “Advanced Security” Actually Means
Consumer router claims: “Advanced Security Features!”
Reality: Scanning for obvious malware from 2015. Maybe.
Real security means IDS/IPS with updated rulesets, traffic analysis, and actual logging. Your $120 router isn’t doing that.
I didn’t realize how blind I was until I enabled Suricata on OPNsense. Every week I see:
- Port scans from random IPs
- Exploit attempts targeting common vulnerabilities
- IoT devices calling home to suspicious destinations
- Brute force attempts on exposed services
My consumer router saw none of this. It was all happening, every day, and I had no idea.
The Single Point of Failure Problem
Your consumer router tries to be:
- Router + Firewall + WiFi + Switch + DHCP + DNS + VPN + USB file server
When any piece fails, everything fails. When you need to reboot, everything goes down.
A proper network has separate components:
- Router box: Routing, firewall, DHCP, DNS
- Switch: Distributes connections, handles VLANs
- Access points: Just WiFi
When the AP reboots, your wired devices keep working. When you’re tinkering with your Proxmox host, your family doesn’t notice.
This isn’t theoretical. After eight years of running separated infrastructure, I’ve had zero network-wide outages that weren’t ISP-related. With consumer routers, I had them weekly.
What You’re Actually Exposing
Without proper segmentation:
IoT device gets compromised → Attacker accesses your entire network
With VLANs: They’re trapped in the IoT sandbox
Download client compromised → Direct path to all your files
With VLANs: Container can only talk to specific services
Smart device has vulnerability → Entry point to everything
With VLANs: Isolated and contained
Real example: I tried to tighten security rules on my IoT VLAN once. Made them too restrictive and all my devices lost internet access. No problem. I restored my OPNsense backup from 15 minutes earlier and everything was fine. Try doing that with a consumer router.
The Features That Actually Matter
1. VLAN Support (Network Segmentation)
Create multiple isolated networks on the same hardware. If one thing gets compromised, it can’t spread.
Real example: My media stack runs in VLAN 2 (10.0.2.x). Firewall rules allow internet access for downloading and trusted device access for streaming. Everything else is denied. If a container gets compromised, the damage is contained to that VLAN.
I thought about my VLAN structure for a long time before implementing it. Two years later, I wouldn’t change anything about how it’s set up.
2. Intrusion Detection/Prevention (IDS/IPS)
Your router inspects every packet for known attacks, malware, and suspicious behavior.
I didn’t enable Suricata from day one. I added it after getting comfortable with the basics. The learning curve was real. Lots of forum posts and Reddit threads to understand what I was seeing. But it wasn’t too bad, and now it runs automatically.
What I see every week:
- Blocked port scans from random IPs
- Exploit attempts targeting known vulnerabilities
- Malware callbacks from IoT devices
- Geographic attacks I can block at the firewall level
My old consumer router saw none of this. It was all happening, I just didn’t know about it.
3. Real Firewall Rules + Full Logging
Define exactly what’s allowed. See every decision the firewall makes.
My media VLAN rules:
- Allow: Internet access (ports 80, 443)
- Allow: Internal service communication
- Allow: Trusted devices → media services
- Allow: NAS access (NFS)
- Deny: Everything else (log it)
When something breaks, I check the logs and see exactly what’s being denied. No guessing. No mystery reboots. Just clear information about what happened and why.
4. Local DNS + DHCP Control
Static IPs for all services. Custom DNS entries. Full control.
Instead of remembering 10.0.2.15:8096, I just go to jellyfin.home. All my services have friendly names. Static DHCP means each device always gets the same IP every time. This is critical for firewall rules that actually work.
5. Traffic Shaping + QoS
Prioritize certain traffic. Set bandwidth limits per device.
I didn’t set this up immediately. I added QoS after SABnzbd kept maxing out my 150Mbps download connection and causing buffering on Jellyfin streams.
My current setup (tailored to my needs):
- Priority 1: Streaming (Jellyfin, Plex)
- Priority 2: YouTube and video
- Priority 3: Gaming
- Priority 4: Web browsing
- Priority 5: Bulk downloads (capped at 80% of available bandwidth)
Now downloads automatically throttle when someone starts streaming. No buffering, no complaints, no manual intervention. It just works.
Router Hardware Options
Note on recommendations: I’ve personally used all the hardware in the Budget and Balanced builds over the years. The Beast build represents what I’d upgrade to if I had the time and budget. It is based on research and community feedback, not hands-on experience.
Budget Build (~$200 Total)
Router Box: $80-170
Used off-lease SFF computers are the best value for starting out. I ran OPNsense on an old desktop computer for six years before upgrading.
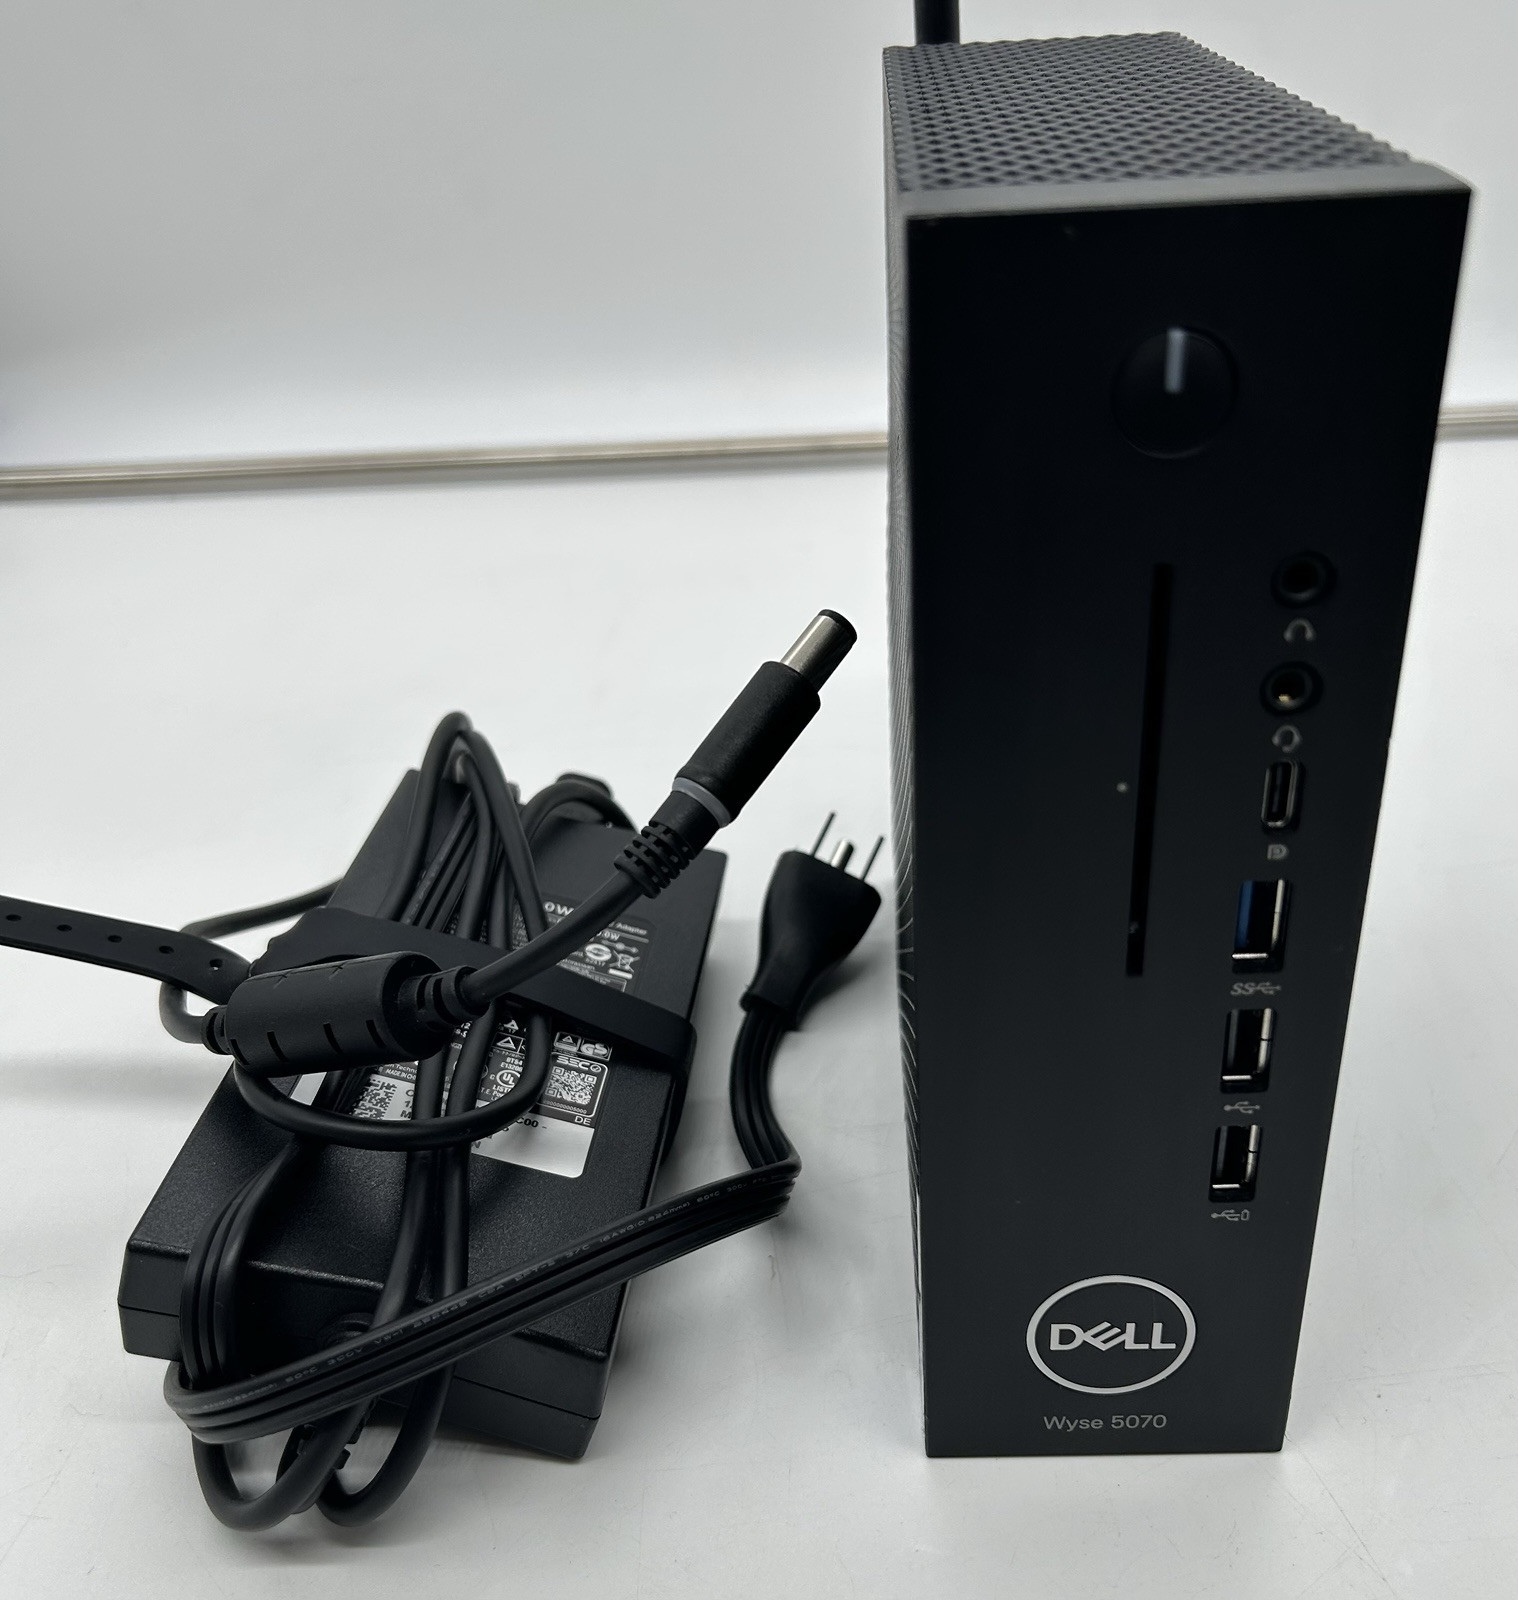
Dell Wyse 5070 Extended (J5005)
This is the budget-friendly, low-power OPNsense box that “just works”. Add an Intel i350-T2, give it 8–16 GB of RAM, and you’ve got a quiet, reliable home router with room for VLANs, WireGuard, and moderate IDS.
Price: $80 - $170
Personal note: This is comparable to what I started with. Old hardware running OPNsense for years without issues.
Contains affiliate links. I may earn a commission at no cost to you.
Network Card: $30-50
Used Intel NICs are reliable and well-supported in OPNsense and PFsense.
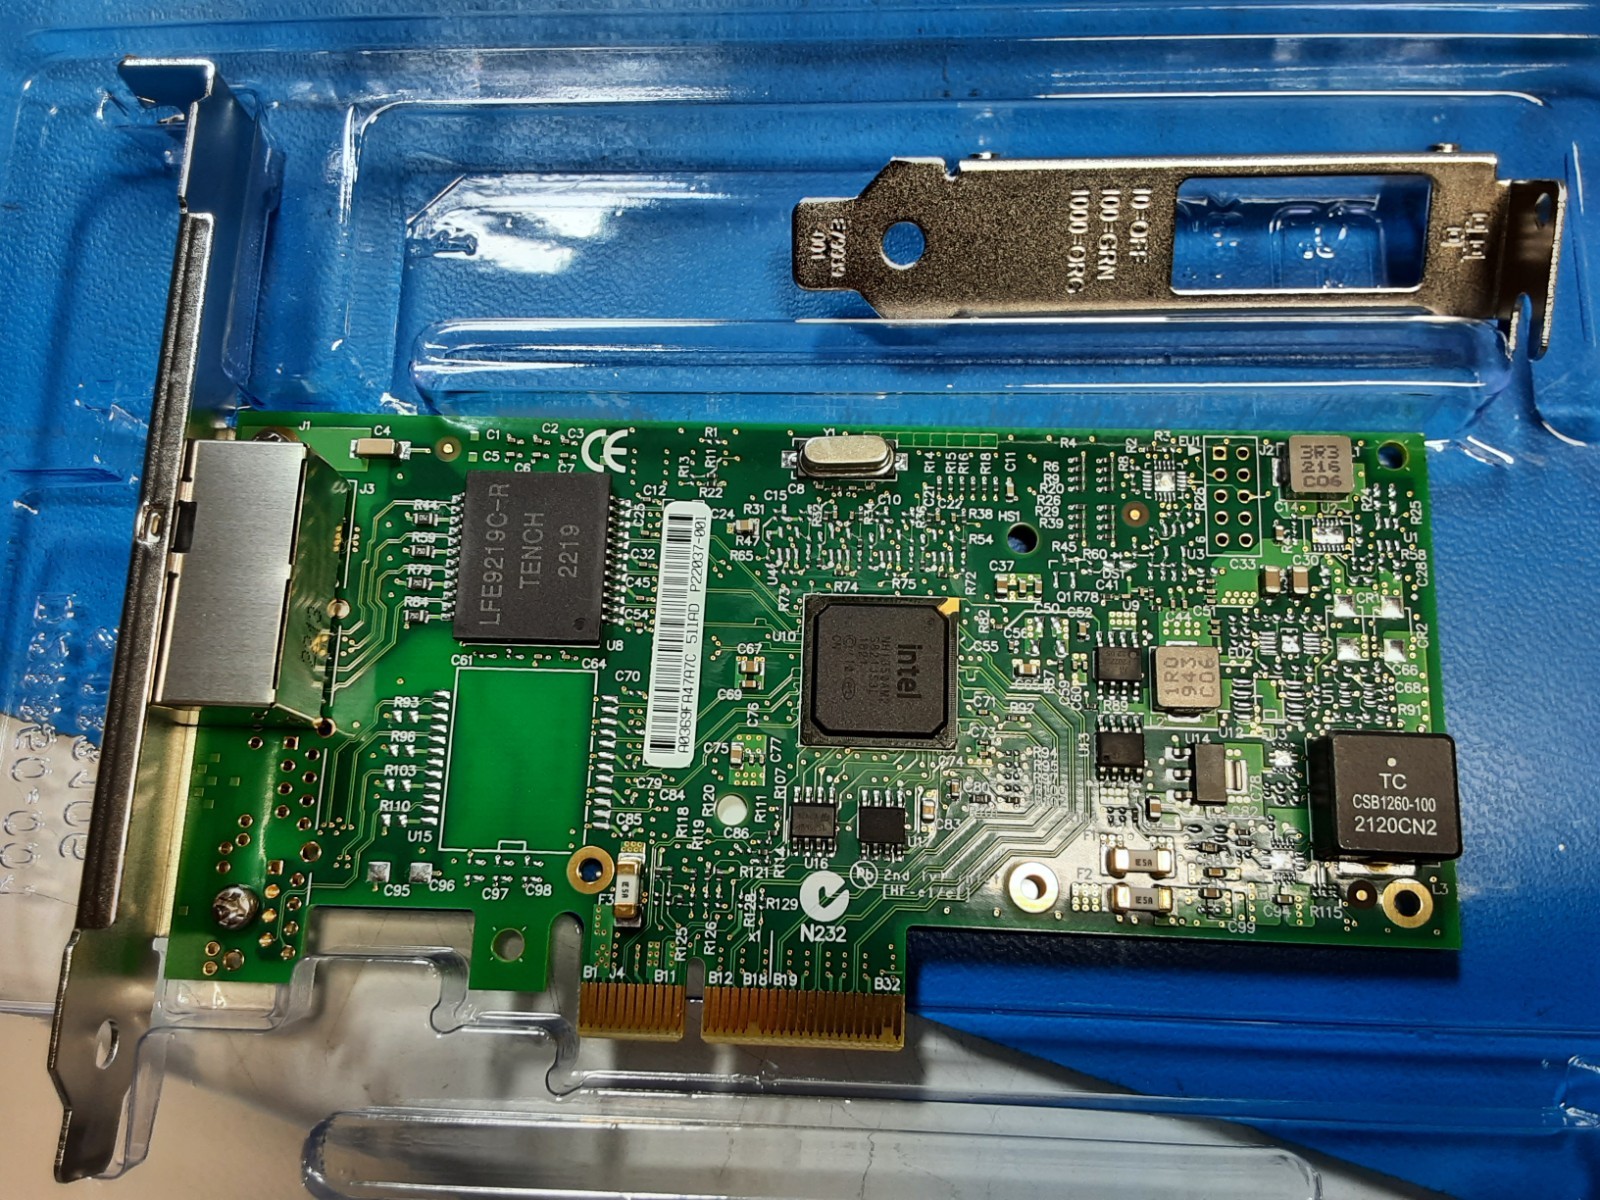
Intel i350-T2
The low-profile Intel i350-T2 drops right into the Wyse 5070 Extended’s PCIe slot and gives you two rock-solid 1 GbE ports with mature FreeBSD drivers, perfect for OPNsense.
Price: $30 - $50
Contains affiliate links. I may earn a commission at no cost to you.
Alternative: New Budget Device
Don’t want to deal with used gear? Here’s an affordable new option:
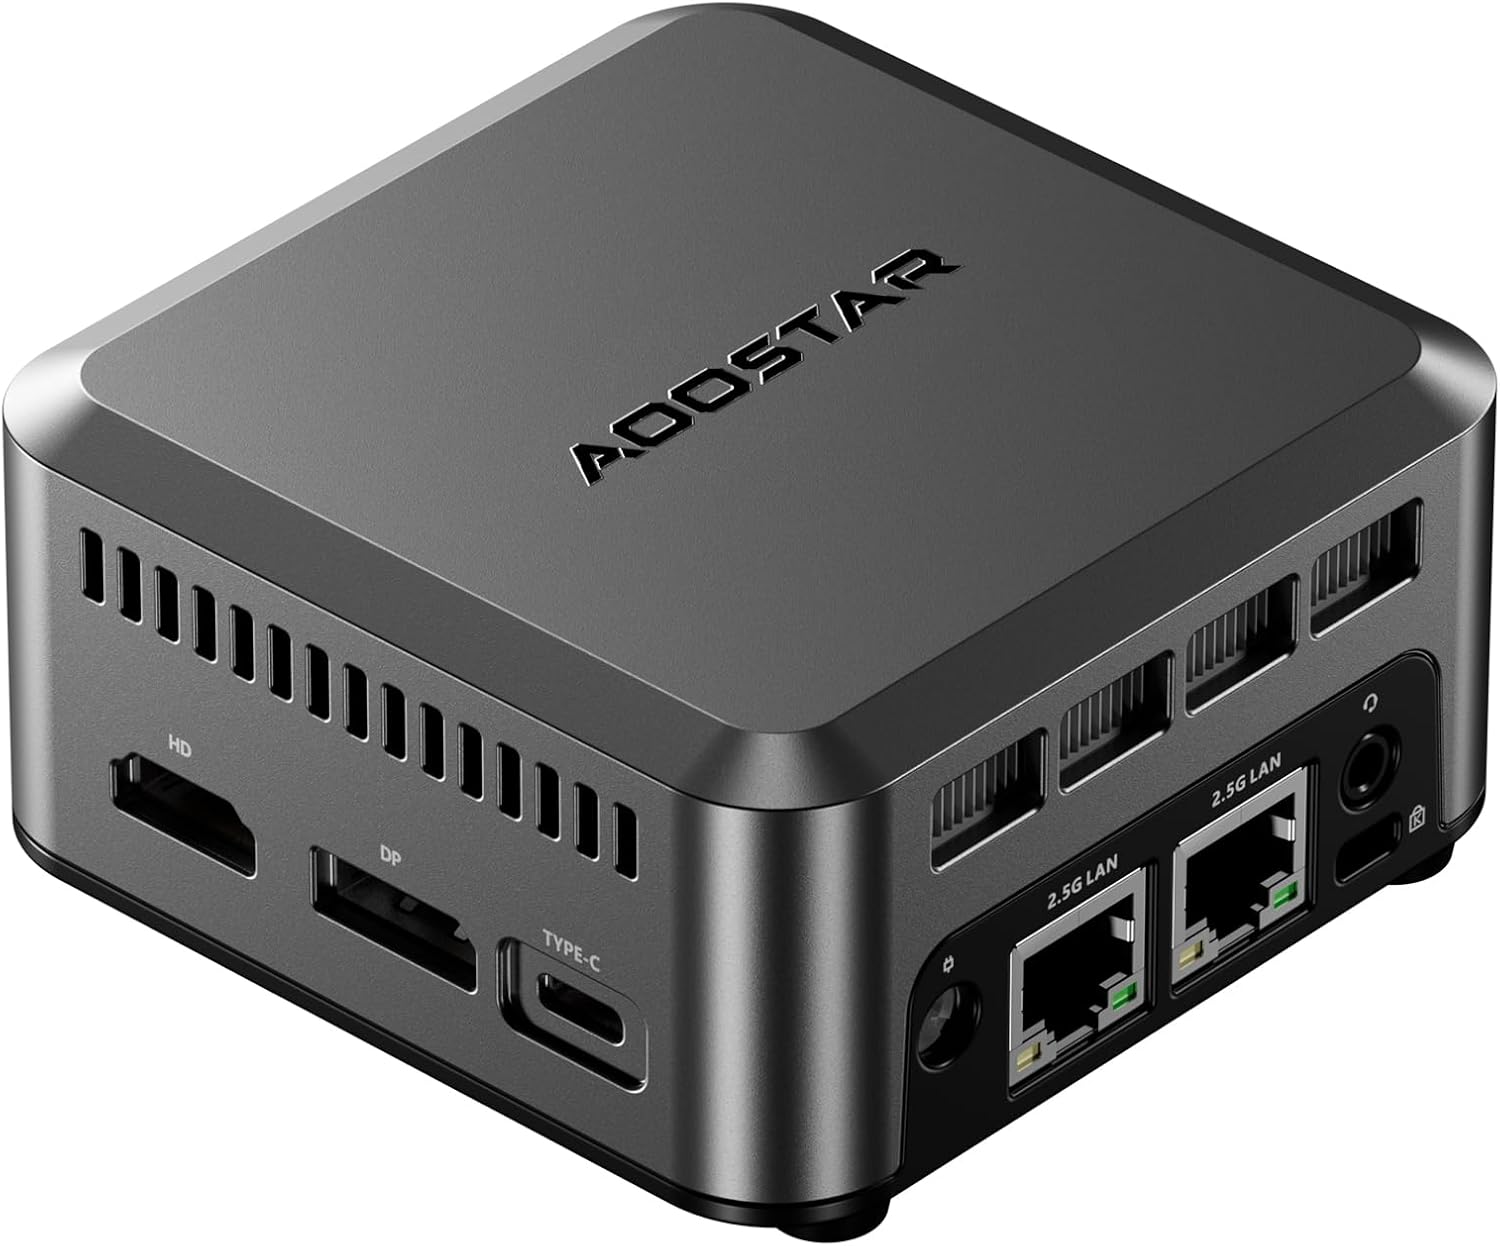
This affordable, energy-efficient single-board computer is perfect as a low budget router with its dual 2.5Gb network ports and enough processing power to support an IDS.
Switch: $60-90
You need a managed switch to handle VLANs properly.
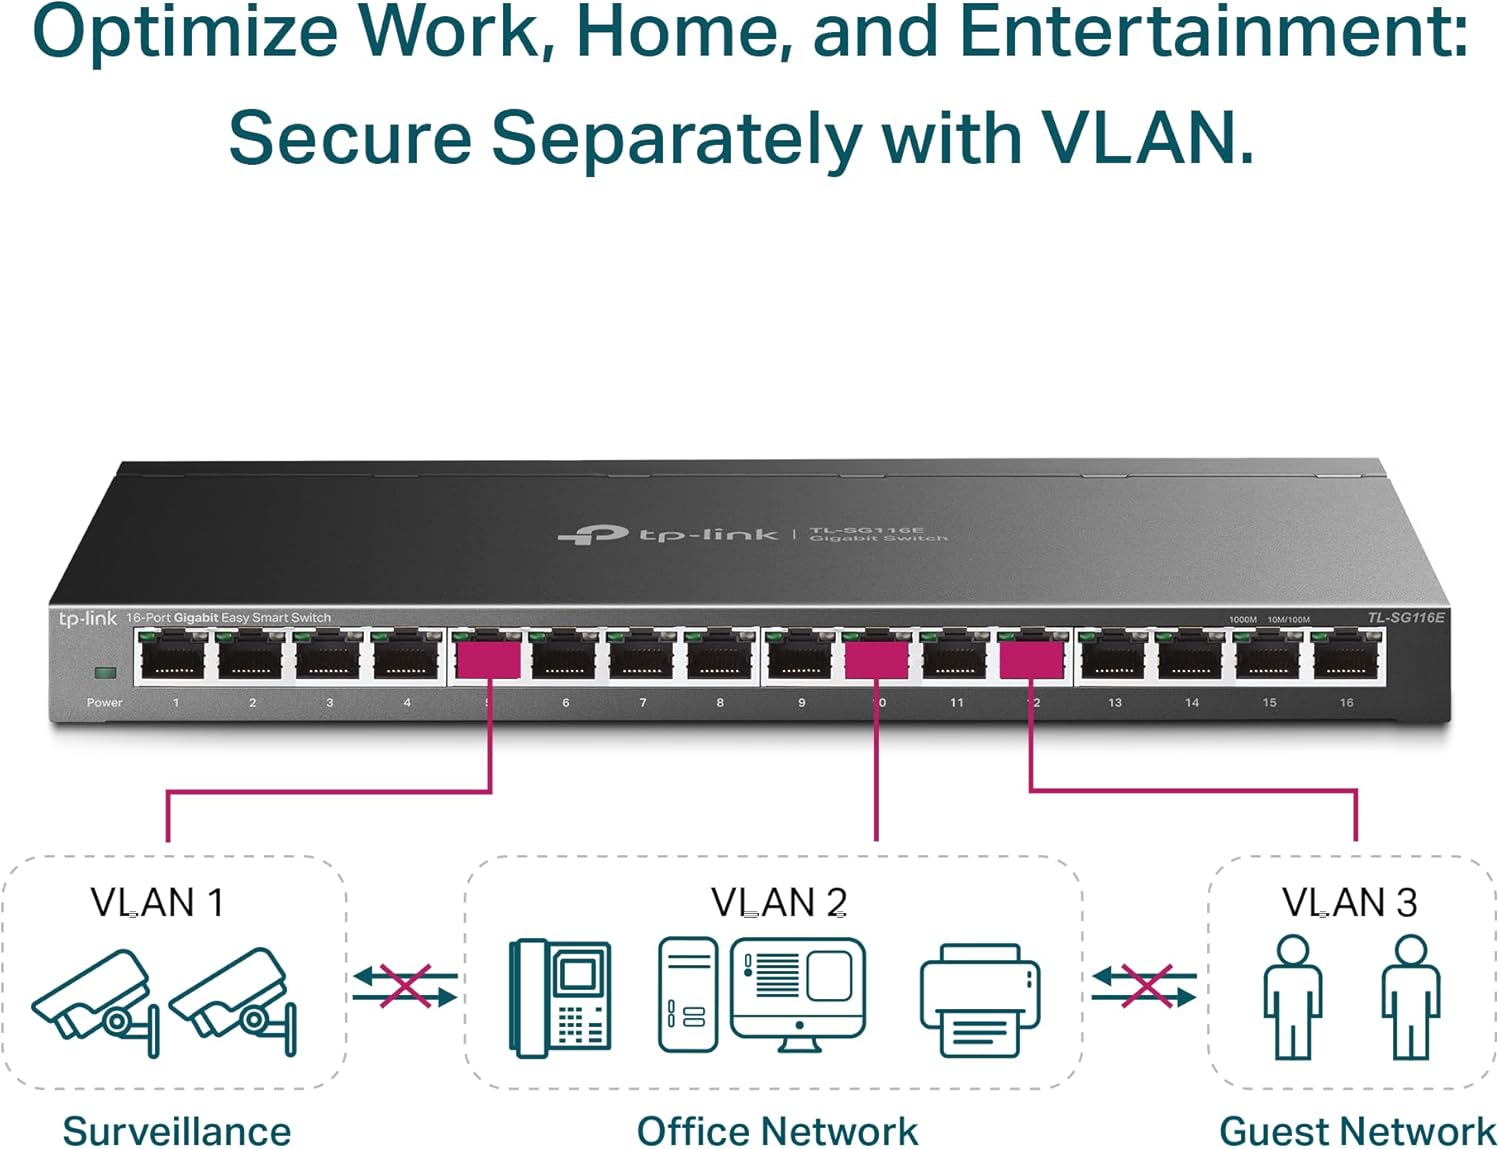
Is a 16-port, fanless Gigabit “Easy Smart” switch with a metal shell, web GUI, and essentials like 802.1Q VLANs, trunks, and QoS. It’s a great budget match for an OPNsense router build: quiet, low-power, cheap, and gives you the VLAN segmentation and uplink tagging you need without paying managed-switch tax.
Personal note: I used this class of switch for years before upgrading to 2.5GbE.
Dedicated Wireless Access Point (WAP): $60-80
Having a dedicated WAP can really improve the Wi-Fi signal in your house. You can place it in the optimal location with just an ethernet cable.
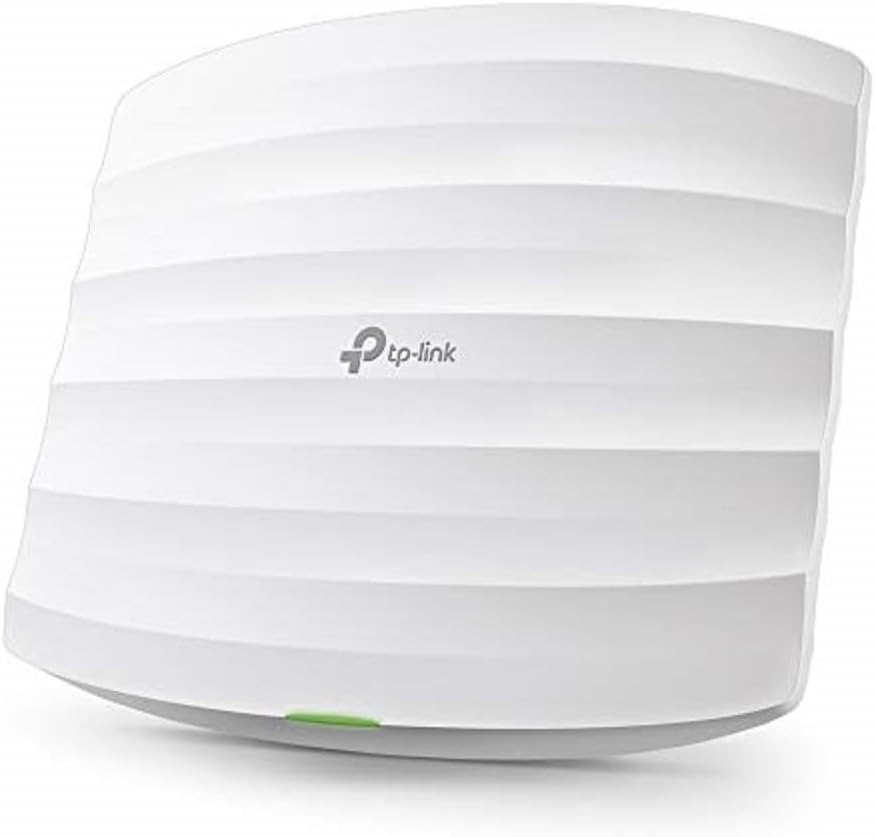
Is a ceiling-mount, PoE-powered, dual-band 802.11ac with a Gigabit uplink, and simple Omada controller management. It honors 802.1Q VLANs for clean SSID-to-network mapping (Main/IoT/Guest), and delivers fast, reliable Wi-Fi.
What this setup can handle:
- Gigabit routing with IDS/IPS
- 5-6 VLANs
- Up to 50 devices
- Basic VPN
Who this is for: 95% of home users with gigabit internet or slower.
Balanced Build (~$500 Total)
This is what I currently run. After six years on budget hardware, I upgraded to this configuration two years ago for better power efficiency and multi-gig speeds.
Router Box: $320-500
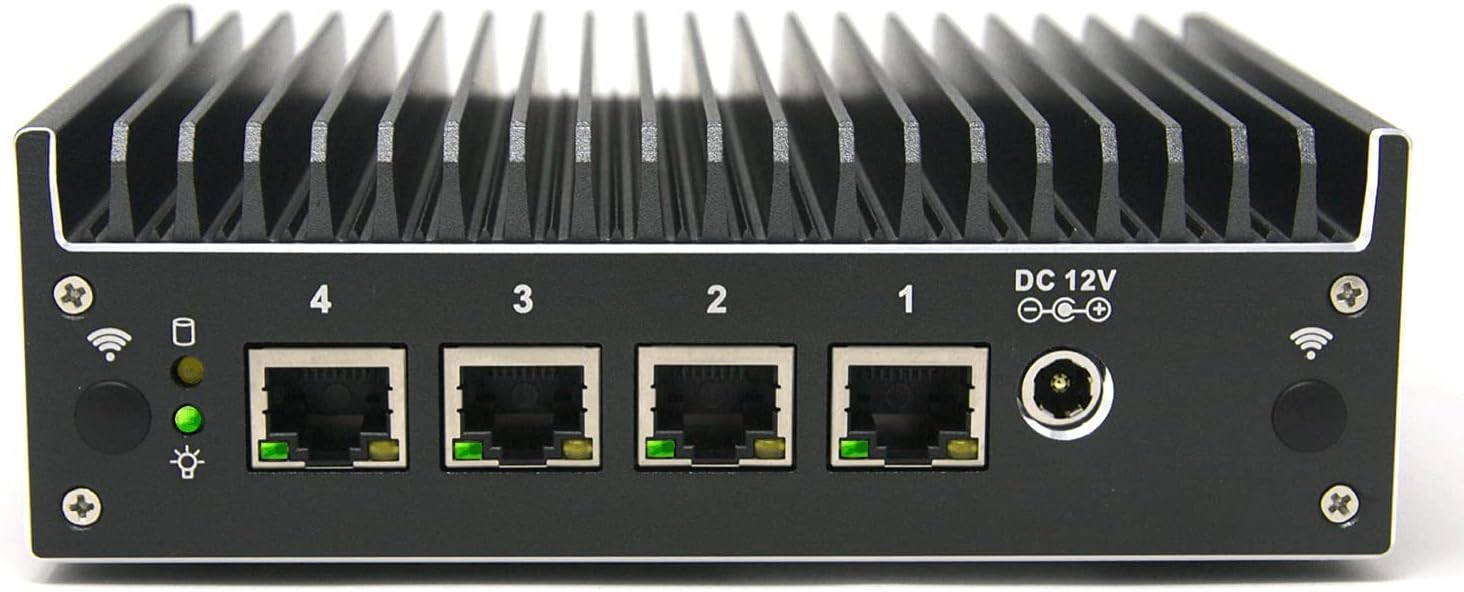
A fanless mini-appliance with a 4-core Intel J6412, 4× 2.5GbE Intel i225 ports, AES-NI. It’s a strong mid-tier OPNsense base that stays quiet and sips power while handling gigabit-plus routing, as well as fast VPN access.
Personal note: This is exactly what I’m running. Two years in, zero hardware issues. It’s silent, efficient, and handles everything I throw at it.
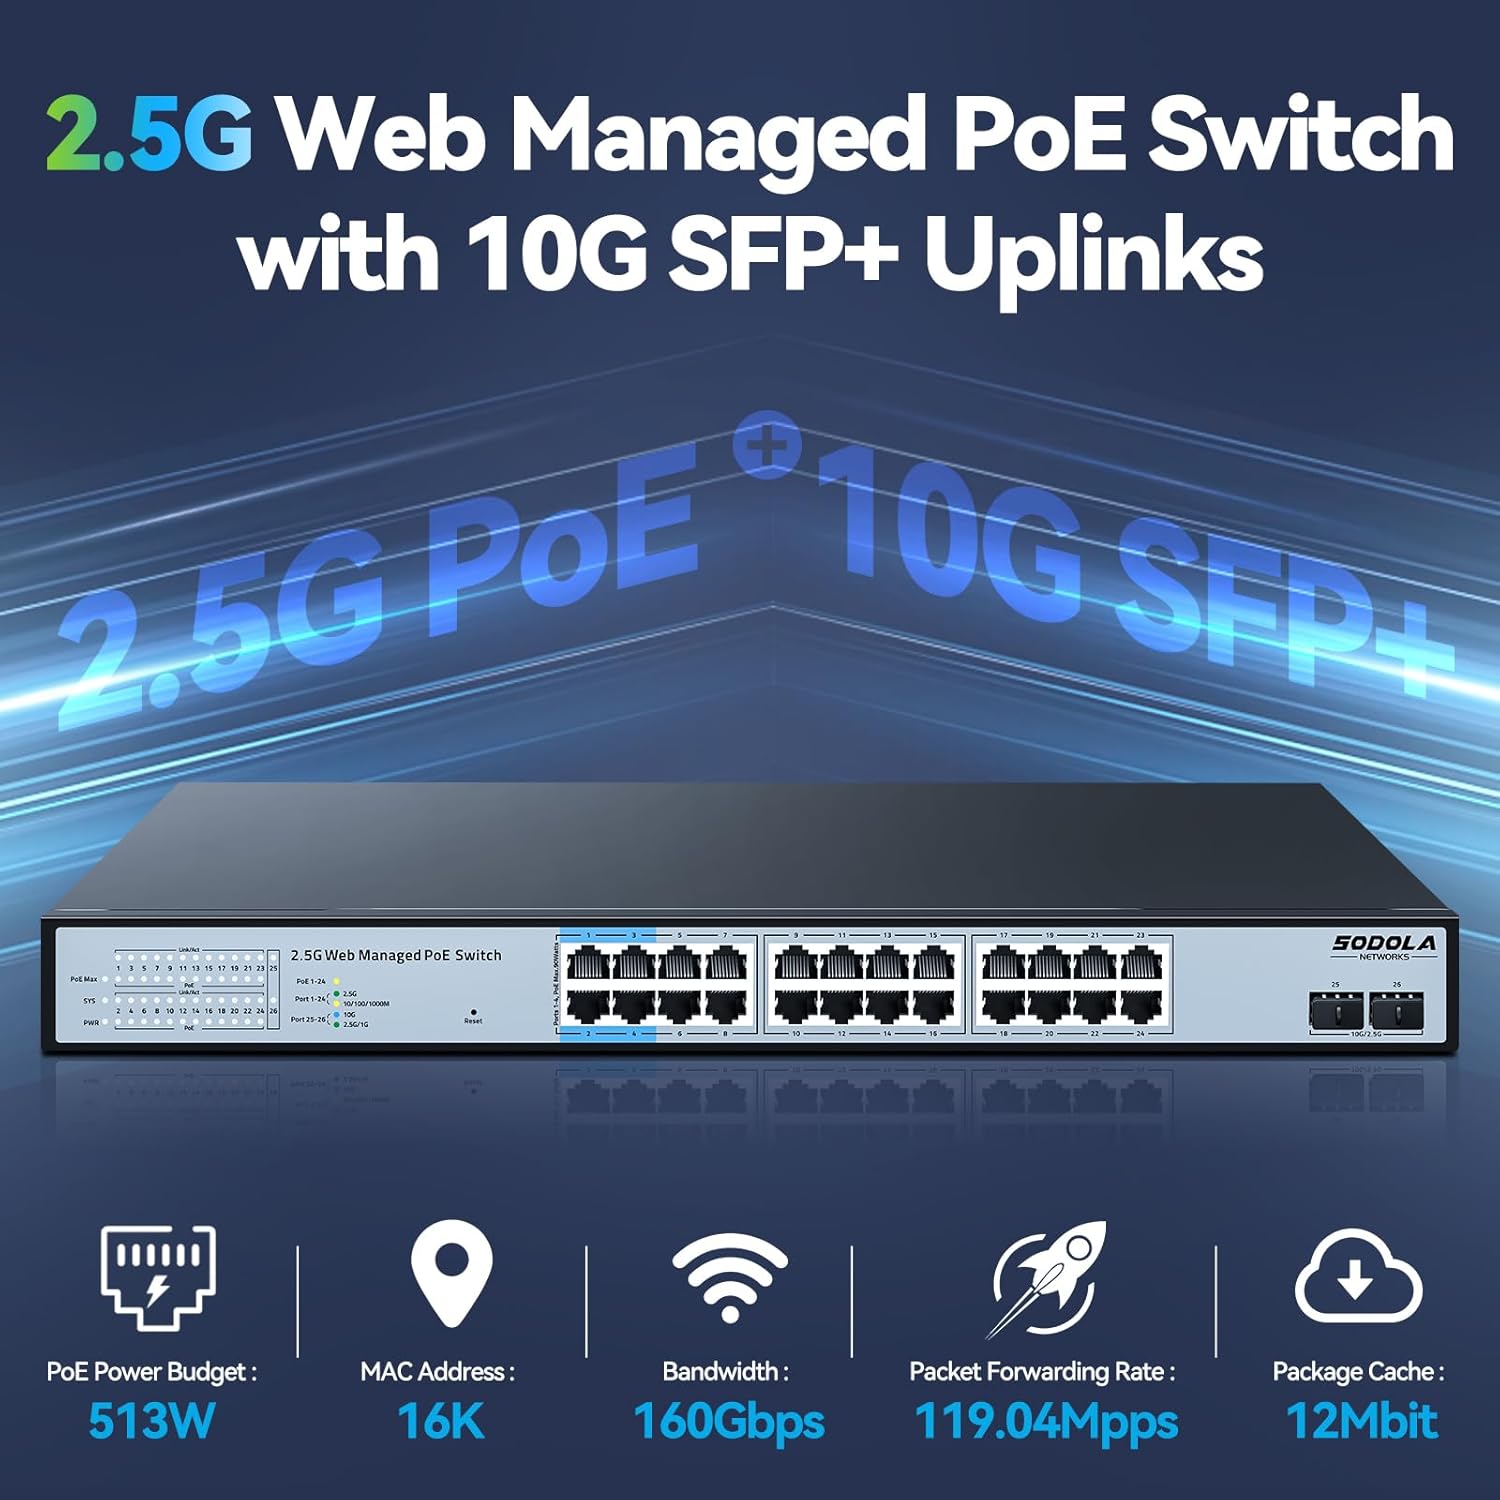
Switch: $90

Provides eight 2.5GbE ports, a quiet fanless metal chassis, and a simple web UI with essentials like 802.1Q VLANs, QoS, and link aggregation. It fits a mid-tier router build by unlocking multi-gig LAN speeds for NAS and desktops while keeping segmentation clean and power draw low.
Personal note: I installed this when I upgraded to the Protectli. VLANs were straightforward to set up, and the 2.5GbE speeds make a real difference for NAS transfers.
Wireless Access Points
I run four TP-Link Deco units in a mesh configuration. Mostly I use them as dumb APs, but the controller software is useful for one thing: forcing specific devices to specific APs. Some devices are too aggressive about switching APs, which caused buffering during video playback. Pinning them to one AP solved it.
For new buyers, I’d recommend proper ceiling-mount APs instead:

A PoE ceiling-mount WiFi 7 access point with a 2.5 GbE uplink, Omada controller support, and VLAN-aware SSIDs for clean network segmentation. It fits a mid-tier router build by delivering fast, reliable wireless, simple central management, and a clear upgrade path without blowing the budget.
What this setup can handle:
- Multi-gig speeds (2.5GbE)
- Heavy IDS/IPS
- VPN at line speed
- 50+ devices
Who this is for: People who want room to grow and don’t want to upgrade again in 2-3 years.
Beast Build (~$1,200 Total)
Full disclosure: I haven’t personally used this hardware. This represents what I’d upgrade to if I had the budget and needed more performance. Based on community feedback and research, not hands-on experience.
Router Box: $600-700
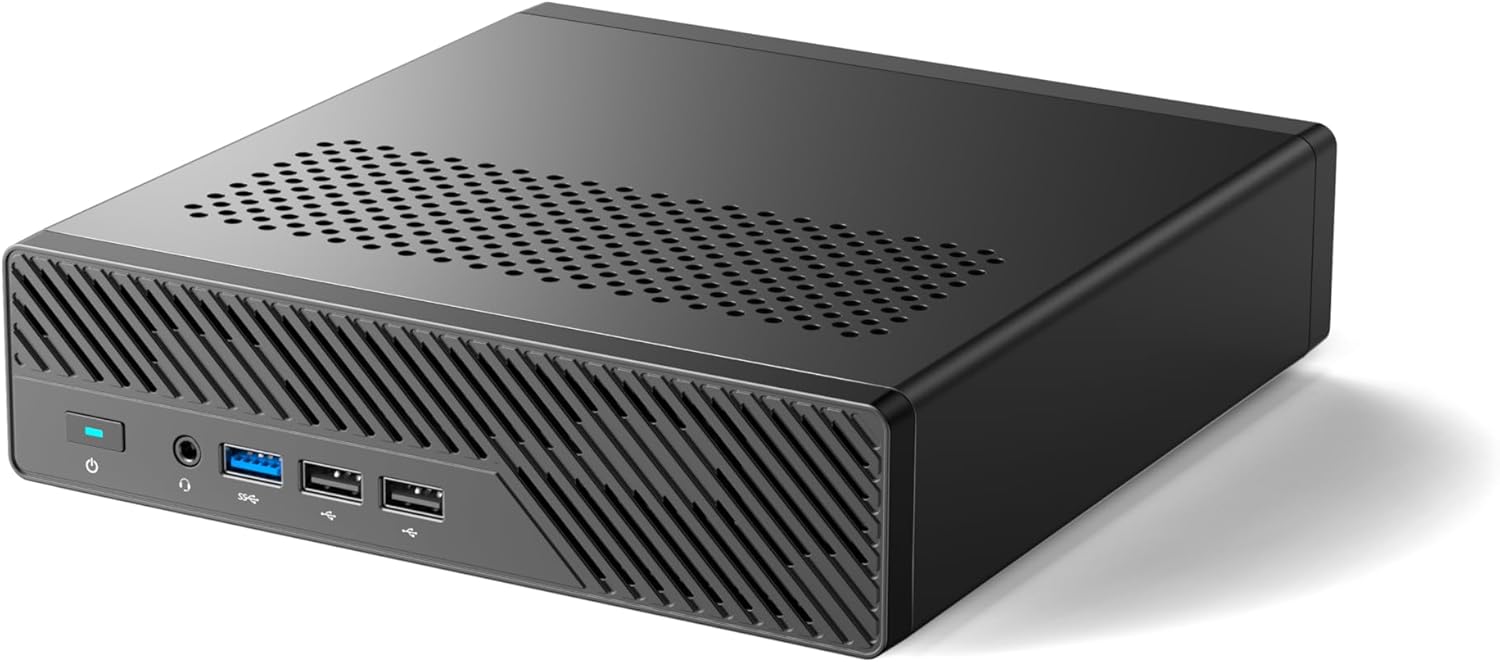
A compact workstation with a high-core-count Intel CPU, dual 10 GbE SFP+ ports, dual 2.5 GbE, NVMe storage, and room to scale. It is ideal for a top-tier OPNsense build because it can push multi-gig routing, run IDS/IPS and high-speed VPN without breaking a sweat and still leave room for future upgrades.
Switch: $360
This switch packs dense multi-gig PoE for APs, cameras, and IoT while keeping management simple with VLANs, and QoS. It’s a strong top-tier fit because your OPNsense box can push multi-gig uplinks and this switch distributes that speed across the whole network without noisy rack gear.
Access Point: $200
Brings 2.4/5/6 GHz and Multi-Link Operation for large capacity, and low latency. It fits a top-tier OPNsense build with a multi-gig PoE uplink, clean SSID-to-VLAN mapping, Omada controller features like fast roaming and band steering, and headroom for dense homes or busy offices.
What this setup can handle:
- 10GbE at line speed
- Extremely complex rules
- Multiple simultaneous VPN connections
- 100+ devices
- Future-proof for years
OPNsense vs pfSense: Which Should You Choose?
Choose OPNsense if:
- You’re new and want a cleaner interface
- You want built-in IDS/IPS
- You prefer frequent updates
- All features are included without licensing
Choose pfSense if:
- You want the most mature platform
- You prioritize stability over features
- You need the largest community
- Don’t mind a more corporate feel
My recommendation: Start with OPNsense. The interface is friendlier while being just as powerful. I’ve run it for eight years across multiple hardware generations without major issues.
Either choice is infinitely better than a consumer router.
Your First Weekend with OPNsense
Let me be honest about timelines. My original draft said “48 hours” but that’s optimistic. Here’s what actually happened when I set mine up.
Hour 1-2: Basic Installation
Installation:
- Download OPNsense ISO, flash to USB
- Boot router box, install to internal drive
- Reboot, remove USB
This part is straightforward. If you’ve installed Linux before, this will feel familiar.
Hour 2-4: Initial Configuration
Getting Internet Working:
- Connect WAN to modem, LAN to computer
- Access web interface at 192.168.1.1
- Run setup wizard: Set password, configure WAN/LAN, set timezone
- Update to latest version
- Configure DNS and test internet
Expect this to take longer than you think. My first attempt, I had to reboot the modem twice before the WAN interface pulled an IP. Normal stuff, but it eats time.
Weekend 2-3: VLANs
Creating Your First VLAN:
VLANs are where it gets tricky. I spent time wrapping my head around the concept before implementation paid off.
Start with IoT if you have IoT devices (and at this point most of us do). It’s the easiest to isolate and test:
- Create VLAN on your switch (VLAN ID: 3)
- Create VLAN interface in OPNsense (Interfaces → VLAN)
- Assign and configure the interface (10.0.3.1/24)
- Enable DHCP for the VLAN
- Create firewall rules:
- Allow: IoT → Internet (ports 80, 443, 53)
- Allow: IoT → DNS Access to your DNS server
- Block: IoT → All other RFC1918 private networks
- Test: Connect device, verify it works but can’t reach other VLANs
The first VLAN took me several hours. The second took one hour. By the fifth, it was fifteen minutes.
Common VLAN Mistakes I Made:
-
Forgetting to tag the trunk port on the switch - Spent 30 minutes troubleshooting why devices couldn’t get IPs before realizing the switch wasn’t passing VLAN tags.
-
Creating rules on the wrong interface - Made perfect firewall rules on the WAN interface instead of the VLAN interface. They did nothing.
-
Blocking DNS accidentally - Blocked RFC1918 addresses but forgot that my router (which provides DNS) is on 10.0.1.1. IoT devices couldn’t resolve anything.
Week 3-4: IDS/IPS
I didn’t enable Suricata immediately. Get comfortable with basic routing and VLANs first.
When I added IDS/IPS:
- Services → Intrusion Detection → Administration
- Enable IDS
- Download Emerging Threats ruleset
- Start in IDS mode (alerts only, no blocking)
- Watch alerts for a week
- Tune rules to reduce false positives
- Switch to IPS mode (active blocking)
The learning curve was real. Lots of alerts I didn’t understand. Lots of forum threads explaining what “ET POLICY” rules meant. But after a few weeks, it clicked.
Week 4-6: QoS and Polish
I added QoS when SABnzbd kept ruining movie night.
Downloads would max out my 150Mbps connection, and Jellyfin streams would buffer. Annoying for me, unacceptable for my wife.
Setting up traffic shaping:
- Firewall → Shaper → Settings
- Create pipes for download/upload
- Create queues for different traffic types
- Assign priorities
- Test with actual usage
My current priorities (tailored to 150/30 Mbps connection):
- Queue 1 (Highest): Jellyfin streaming, Plex
- Queue 2: YouTube, video platforms
- Queue 3: Gaming traffic
- Queue 4: Web browsing
- Queue 5 (Lowest): SABnzbd, torrents (capped at 120Mbps / 80%)
Now downloads run in the background without impacting anything else. No manual throttling needed.
Current State: Set and Forget
After the initial setup period, I barely touch OPNsense.
Weekly routine:
- Check for updates (takes 2 minutes)
- Review IDS/IPS alerts (5 minutes)
- Check logs if something seems weird (rarely needed)
Monthly:
- Review firewall rules to see if anything needs adjustment (usually doesn’t)
- Download config backup
That’s it. The router just works. No daily reboots. No random failures. No “why is the internet down?” conversations.
In two years with the Protectli, I’ve had zero hardware failures. Compare that to 15 years of consumer routers dying every 2-3 years.
Common Problems and Fixes
Can’t Access Internet After Setup
Symptoms: OPNsense installed, but no internet access
Check:
- WAN interface has IP address (Interfaces → Overview)
- Gateway shows as online (System → Gateways → Single)
- DNS servers configured (System → Settings → General)
- Try pinging 8.8.8.8 from Diagnostics → Ping
Fix: Usually the modem needs a reboot. Power cycle it, wait 2 minutes, check again.
VLANs Not Working
Symptoms: Device on VLAN can’t get IP or access internet
Check:
- VLAN created on switch with correct ID
- Trunk port configured between router and switch
- VLAN interface assigned in OPNsense
- DHCP enabled for VLAN
- Firewall rules allow traffic
Fix: 90% of the time it’s switch configuration. Verify VLAN tagging is correct.
Locked Yourself Out
Symptoms: Changed firewall rules, now can’t access web interface
Fix:
- Connect directly to LAN port
- Access 192.168.1.1 (default LAN IP)
- If that doesn’t work: Boot to recovery mode, reset to last config
- Last resort: Reinstall and restore from backup (you made backups, right?)
This is why you download config backups regularly.
Specific Mistake I Made: IoT Security Lockdown
What I tried: Tightened security rules on IoT VLAN to block more traffic
What broke: All IoT devices lost internet access completely
What I learned: I was too aggressive blocking outbound traffic. Smart devices need to call home for updates and cloud features. You can restrict them, but not completely isolate them.
How I recovered: Restored OPNsense backup from 15 minutes earlier. Back to working state in 2 minutes.
Lesson: Always download a config backup before making major changes. Test changes incrementally. Have a rollback plan.
Common Mistakes to Avoid
Over-Complicating Day One
Start simple. Get basic routing working before adding anything else.
My recommended progression:
- Weekend 1: Install OPNsense, get internet working
- Weekend 2-3: Add one VLAN, test thoroughly
- Weekend 4: Add remaining VLANs
- Week 3-4: Enable IDS/IPS in monitoring mode
- Week 5-6: Add QoS if needed
- Ongoing: Tune and optimize
Not Documenting
Keep notes on:
- What each VLAN is for
- Why specific firewall rules exist
- What each static IP is assigned to
- Changes you make and why
Future you will thank you. I have a simple Obsidian note:
VLAN 2 (10.0.2.x) - Media Stack
  - Jellyfin, Sonarr, Radarr, SABnzbd
  - Allows: Internet (80, 443), NAS access, Trusted devices
  - Blocks: IoT VLAN, Guest VLAN

Rule: Allow trusted → Media (8096)
  Why: Access Jellyfin from phones/laptops
  Created: 2023-02-15
Simple, but invaluable when troubleshooting at 11 PM.
Not Testing Firewall Rules
After creating block rules, actually test them. Don’t assume they work.
How I test:
- Create rule to block IoT → NAS
- From IoT device, try to ping NAS IP
- Check firewall logs to confirm block
If the rule doesn’t show up in logs, it’s not working. Figure it out and fix it now, not when you have a security incident.
No Config Backups
Download your config regularly. Hardware can fail. Updates can go wrong. Accidents happen.
My backup routine:
- After any major change: Download config immediately
- Weekly: Download fresh backup (takes 30 seconds)
- Store backups in three places: NAS, cloud, USB drive
I’ve restored from backup twice:
- When I locked myself out with aggressive firewall rules
- When I tried an OPNsense update that didn’t play nice with my hardware (rolled back, waited for next version)
Both times, I was back up in minutes instead of hours of reconfiguration.
Ignoring IDS/IPS Alerts
Review alerts weekly. This is your early warning system.
What I check every week:
- New alert types I haven’t seen before
- Repeated alerts from same source (might need blocking)
- Internal devices generating alerts (compromised?)
- Geographic patterns (lots of traffic from one country?)
Takes 5 minutes.
Integration with Your Four-Box Stack
This is why we separate the router from everything else.
Network Topology
[Modem] → [Router/Firewall] → [Managed Switch]
                                 ├→ [NAS] (VLAN 2)
                                 ├→ [Compute Box] (VLAN 2)
                                 ├→ [Access Points] (Multiple VLANs)
                                 └→ [Other Devices] (Various VLANs)
Boot Order Matters
Router → Storage → Compute
Why this order:
- Router boots first: Network is available for everything else
- Storage boots second: NAS is ready when compute needs it
- Compute boots last: Services start when dependencies are ready
How to set delays: You might be able to set delays in BIOS/UEFI for each box depending on your hardware:
- Router: Auto-start immediately (0 second delay)
- Storage: 30-second delay after power on
- Compute: 60-second delay after power on
Real-world benefit: Power outage happens. Everything comes back automatically in the right order. No manual intervention needed.
Why Separation Matters (Again)
I’ve lived both sides of this.
With virtualized router (2 years):
- Rebooting compute = entire house offline
- Hardware failure = no internet until fixed
- Testing new containers = risk to network stability
- Update that goes wrong = everything down
With separated router (4 years total, 2 with current hardware):
- Reboot compute whenever needed = nobody notices
- NAS drive failure = internet stays up while I fix it
- Container experiment goes wrong = network unaffected
- Proxmox update goes sideways = restore snapshot, internet never dropped
The peace of mind is worth every penny.
When to Ask for Help
You will get stuck. Everyone does. Here’s where to go.
Official Resources
OPNsense Documentation: https://docs.opnsense.org/
Start here. Covers installation, basic config, features, and troubleshooting.
OPNsense Forum: https://forum.opnsense.org/
Active community. Search before posting—someone has probably had your exact problem.
Community Resources
Reddit:
- r/OPNsenseFirewall - Dedicated to OPNsense specifically
- r/homelab - Broader homelab topics, lots of OPNsense users
- r/selfhosted - Media server and self-hosting focus

The OPNsense Foundation: Building a Bulletproof Homelab Firewall (Part 1)
Looking for a comprehensive OPNsense setup? Check out this detailed installation and configuration guide from corelab.tech. This two-part series covers everything from initial setup to advanced configuration, providing a complete walkthrough for getting OPNsense running properly.
How to Ask for Help Effectively
When posting for help, include:
- What you’re trying to do: “Setting up VLAN for IoT devices”
- What you’ve tried: “Created VLAN 3 on switch and OPNsense, enabled DHCP”
- What’s happening: “Devices get IP but can’t access internet”
- Relevant logs: Screenshots or text of firewall logs
- Firewall rules: Screenshots of rules for that interface
Bad post: “My VLANs don’t work, help!”
Good post: “IoT VLAN devices get DHCP but can’t reach internet. Created VLAN 3, enabled DHCP on 10.0.3.1/24, firewall rules allow ports 80/443 outbound. Logs show blocked packets to 8.8.8.8. Screenshots attached.”
The good post gets answered quickly. The bad post gets ignored or gets “need more information” responses.
The Bottom Line
After 15 years of consumer routers and 6 years running OPNsense, I’ll never go back.
What you give up:
- One-box convenience
- “It just works” (initially)
What you gain:
- Network segmentation that contains breaches
- Real intrusion detection that shows you threats
- Full traffic visibility, you know what’s happening
- Actual control over your network
- Reliability that doesn’t degrade over time
- Independence from your compute infrastructure
Is it more work? Yes, initially. The first few weekends require learning and configuration.
Is it worth it? Absolutely.
You’re building infrastructure worth thousands of dollars. Protecting it with a $120 consumer router that randomly reboots is like putting a $20 padlock on a bank vault.
The peace of mind alone is worth it. No more “why is the internet down?” conversations. No more daily reboots. No more wondering if your network is secure.
You’ll know it’s secure because you built it that way.
Real Numbers: Cost Over Time
Let me show you the actual economics.
Consumer router approach (what I did for 15 years):
- New router every 2.5 years: $150 average
- 15 years = 6 routers = $900
- Plus time troubleshooting, rebooting, replacing
- Security: Hope and prayer
Dedicated router approach (what I’m doing now):
- Budget build: $200 initial investment
- Expected lifespan: 5+ years (I’m at 8+ years across two hardware generations)
- Electricity: ~15W vs 30-50W consumer router (actually saves money)
- Security: Real, verifiable, logged
Even if you replaced the budget build every 5 years, you’d spend $200 every 5 years ($40/year) versus $150 every 2.5 years ($60/year).
You save money while getting massively better security and reliability.
My current Protectli cost $400. Over 5 years, that’s $80/year. Still cheaper than consumer routers, and I expect it to last longer than 5 years based on how the previous hardware held up.
What’s Next
You’ve got your router sorted. Your network is segmented and secure. You can work on your compute infrastructure without taking down the internet.
In Part 3, we build the vault: A proper NAS that won’t lose your data when drives fail. We’ll talk about storage options like MergerFS + SnapRaid, ZFS, and off the shelf options, proper backup strategies, and why your data deserves more respect than a single external hard drive.
Read Part 3: Your Storage Deserves Its Own Box
Quick Reference: OPNsense Commands
Keep this handy for common tasks:
- Reboot: System → Power → Reboot
- Apply firewall changes: Firewall → Rules → Apply Changes (the orange banner)
- Check blocked traffic: Firewall → Log Files → Live View
- See active connections: Firewall → Diagnostics → States Dump
- Check DHCP leases: Services → DHCPv4 → Leases
- IDS/IPS alerts: Services → Intrusion Detection → Alerts
- Backup config: System → Configuration → Backups → Download configuration
- Test connectivity: Diagnostics → Ping (or Diagnostics → Traceroute)
- Check interface status: Interfaces → Overview
- View system logs: System → Log Files → General