Introduction
Awesome progress on transforming your old PC into a powerful home media server! You’ve already tackled some big steps—installing Ubuntu Server 24.04 LTS, setting up and configuring storage, getting those SMB shares ready for seamless file transfers, and even installing Jellyfin. Now it’s time to pull it all together by configuring Jellyfin and crafting your personalized streaming experience.
In this post, we’ll go through everything you need to get Jellyfin up and running, from completing the setup wizard and adding your media libraries to customizing settings and testing playback. By the end, your media server will be fully operational, ready to stream movies, TV shows, music, and more to any device on your network.
Ready to bring all your hard work together into a seamless streaming experience? Let’s dive in and configure Jellyfin!
Section 1: Accessing the Jellyfin Web Interface
Step 1: Connect to Jellyfin
Open a web browser on a device connected to your network.
Enter the server’s IP address followed by the port number :8096.
Example:
http://192.168.1.100:8096
This will take you to the Jellyfin setup wizard. It should look like this:

If it is not working refer to this post: Troubleshooting - Jellyfin Server Access Issues
Section 2: Running the Jellyfin Setup Wizard
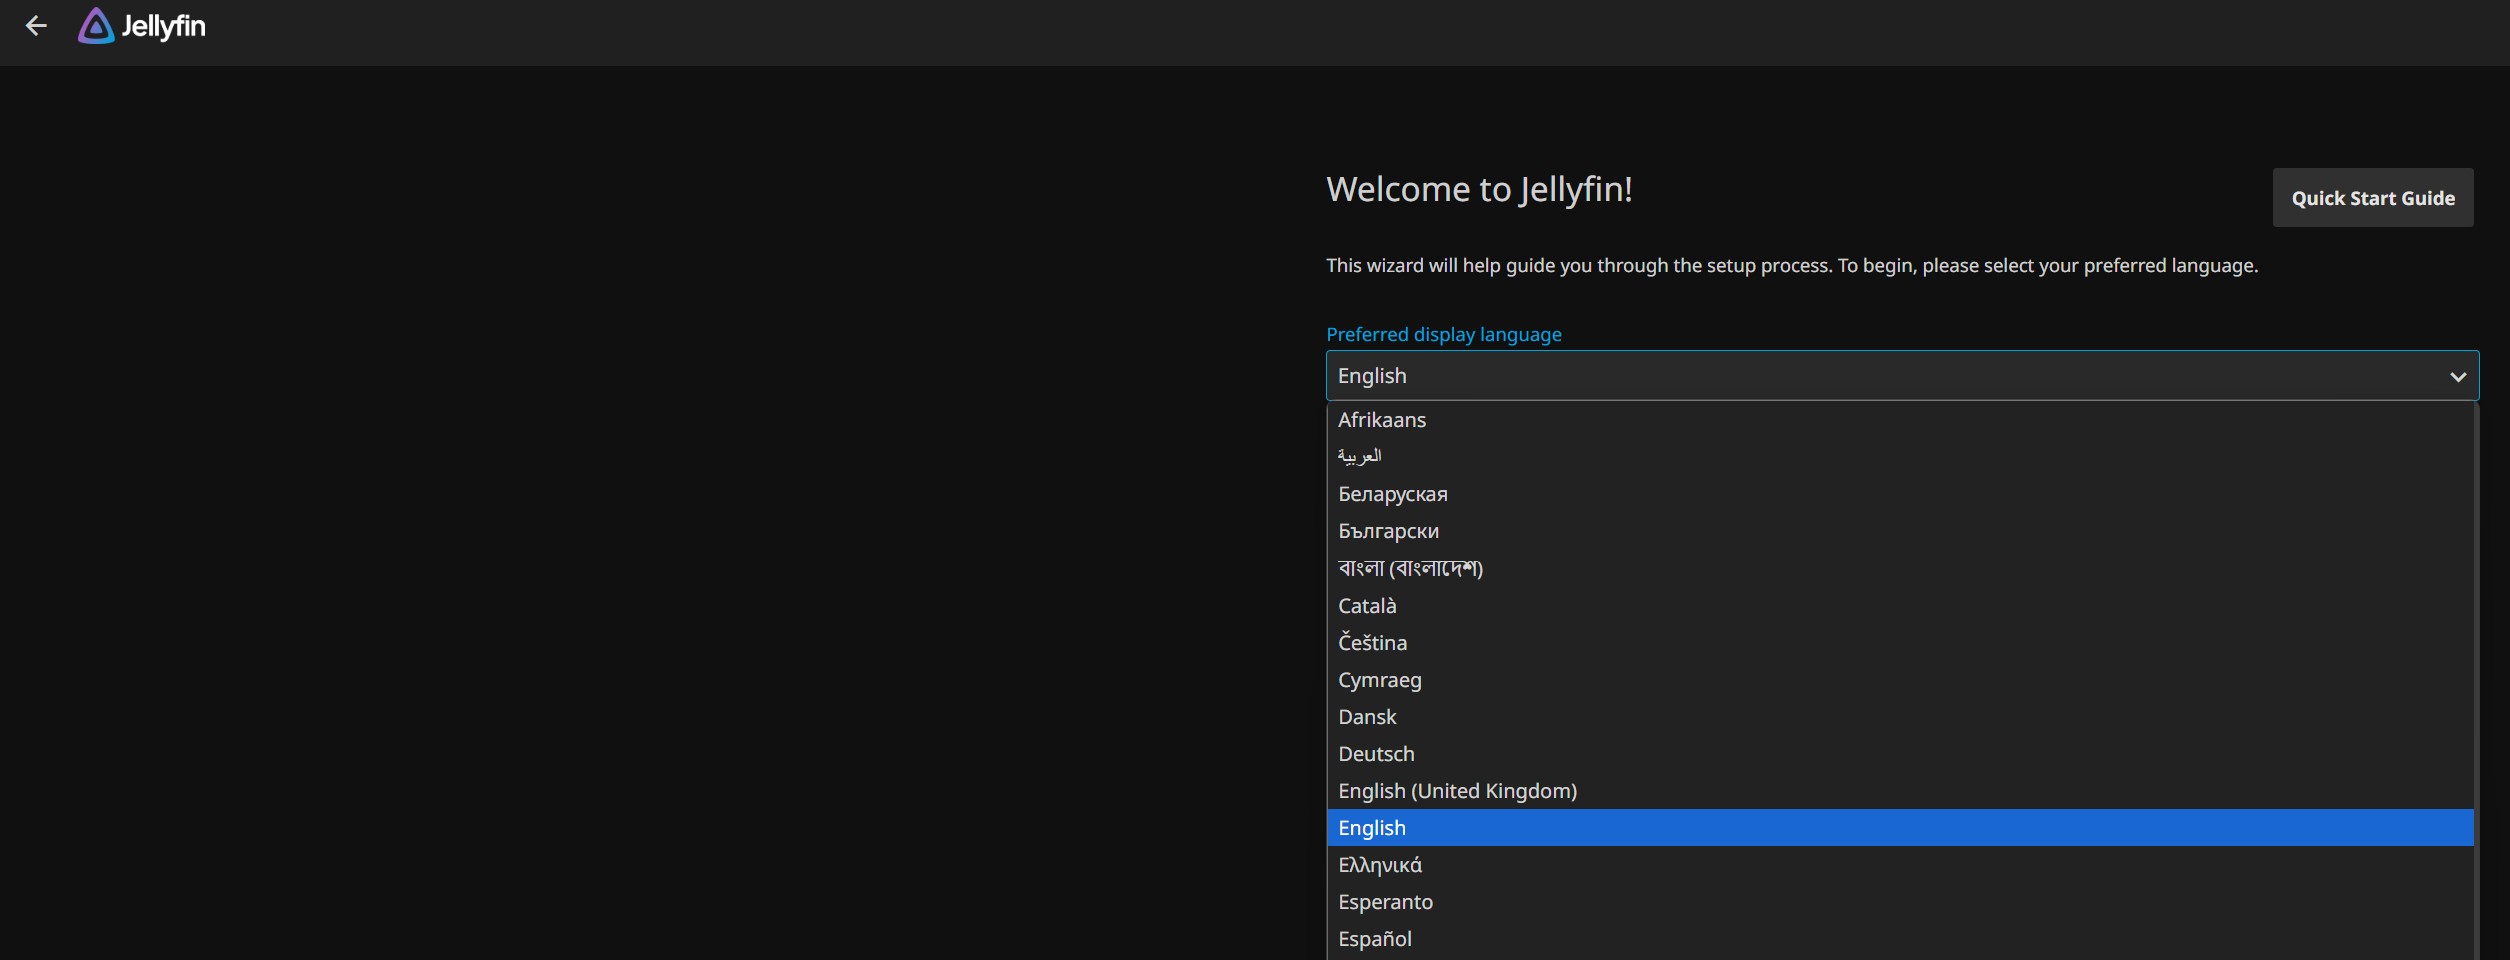
Step 1: Choose Your Language and Region
Select your preferred language.
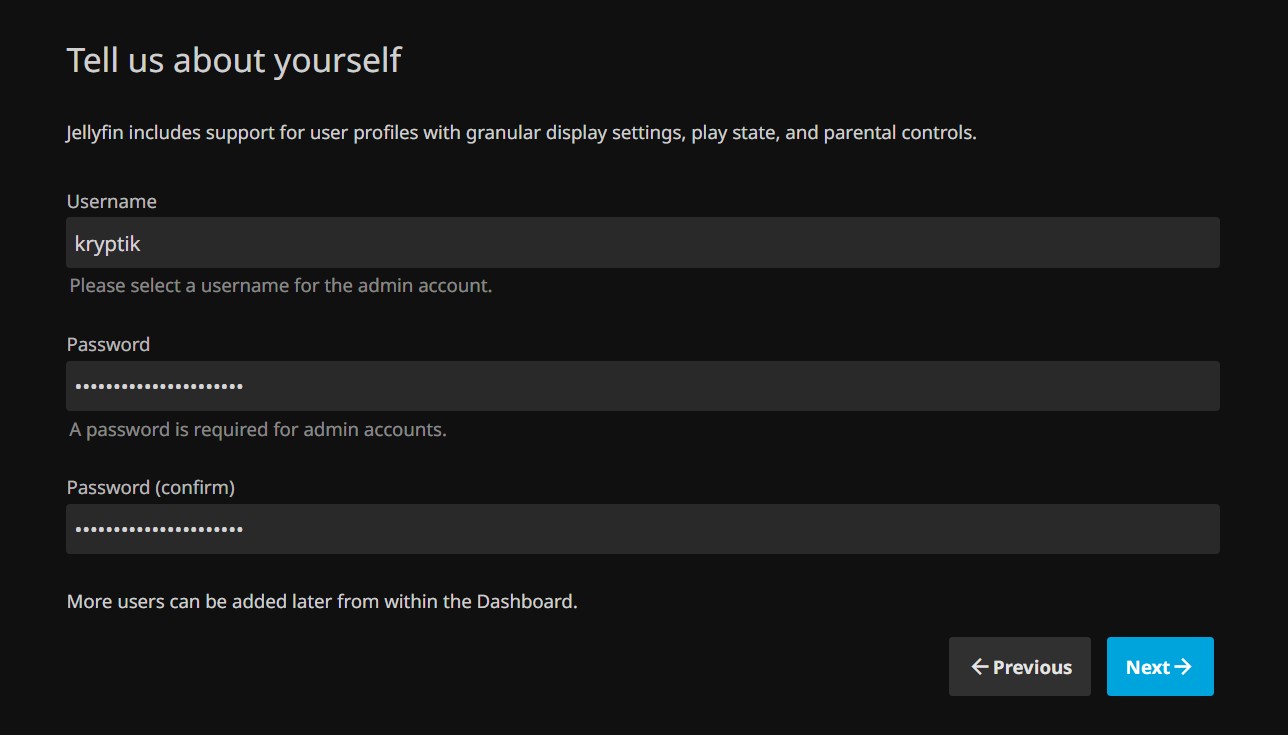
Step 2: Create an Admin Account
Creating a strong admin username and password for managing your Jellyfin server is essential for ensuring the security and integrity of your media server.
Tips for Creating a Strong Username and Password
-
Use Unique Credentials: Avoid common usernames like “jellyfin” and passwords like “123456.” Instead, use a unique username, and for the password use a combination of letters, numbers, and special characters.
-
Make It Long: Passwords should be at least 12 characters long for maximum security.
-
Avoid Predictable Words: Don’t use easily guessed information like your name, birthday, or server name.
-
Use a Password Manager: If remembering complex passwords is challenging, a password manager can generate and store them securely for you.
Step 3: Add Media Libraries
- Click “Add Media Library."
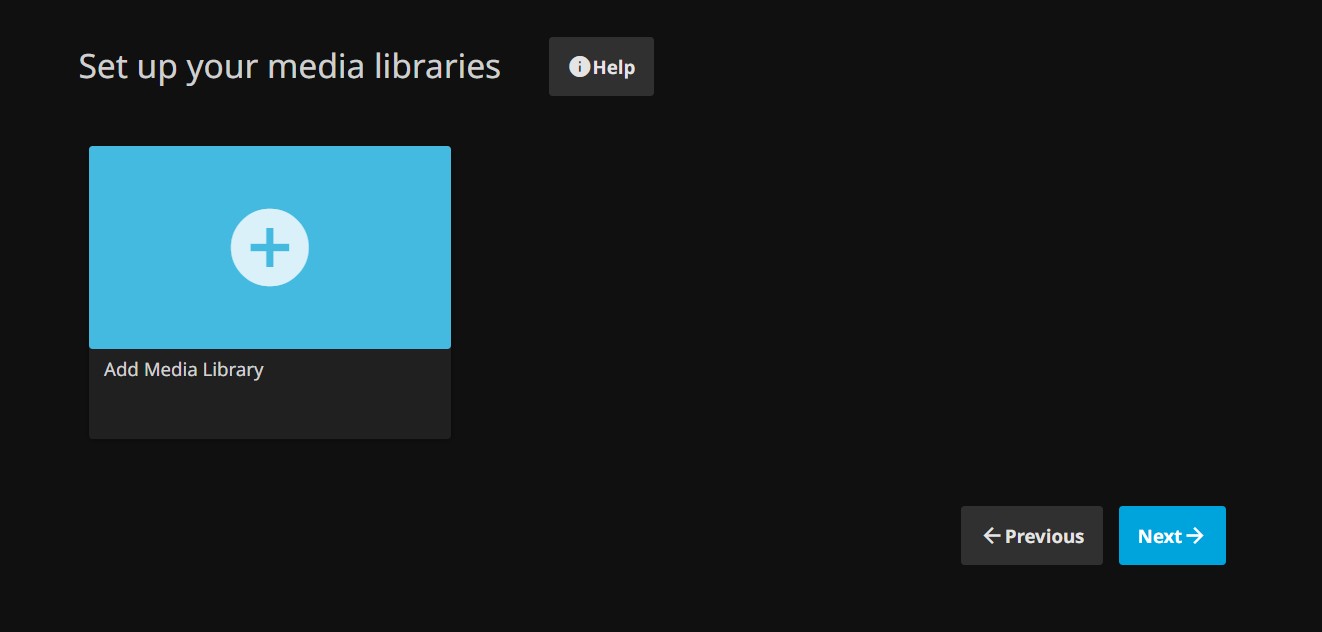
- Select the content type (Movies, TV Shows, Music, etc.).
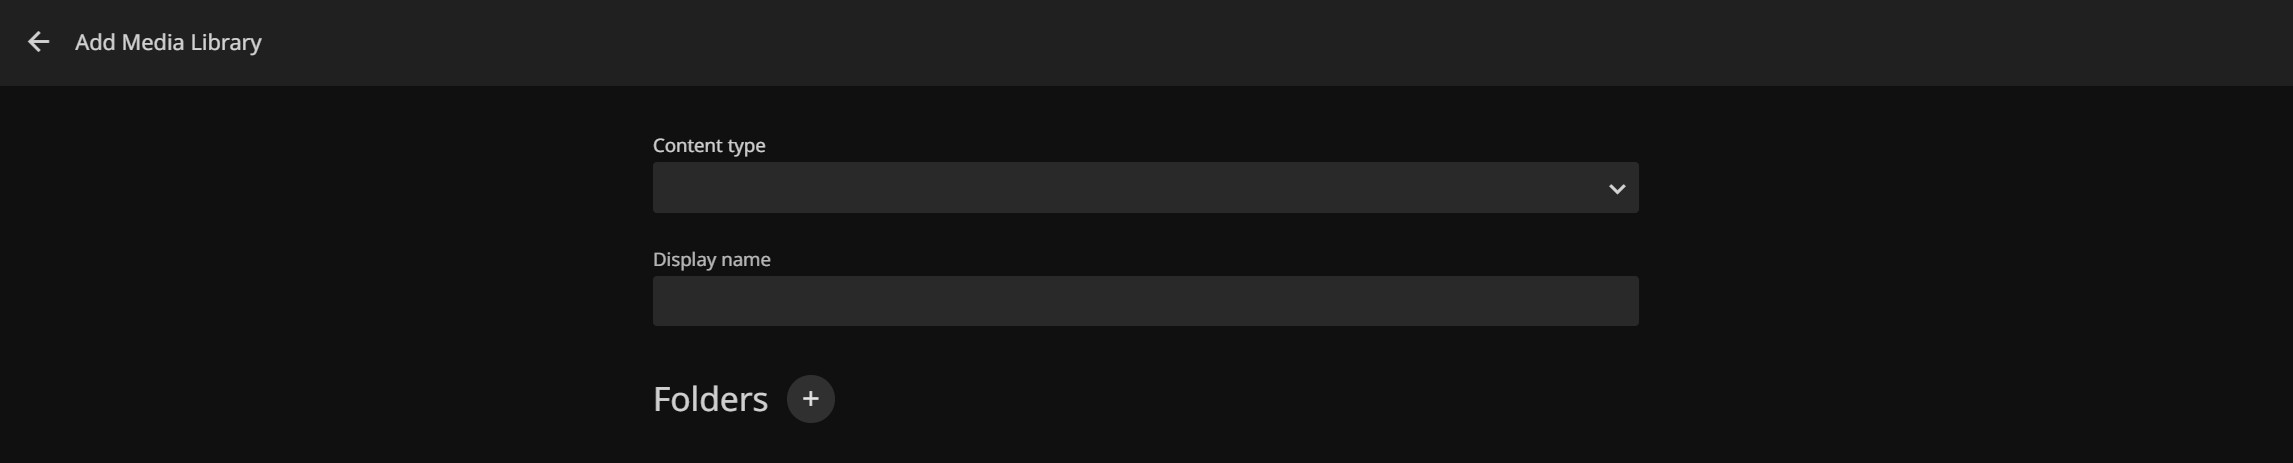
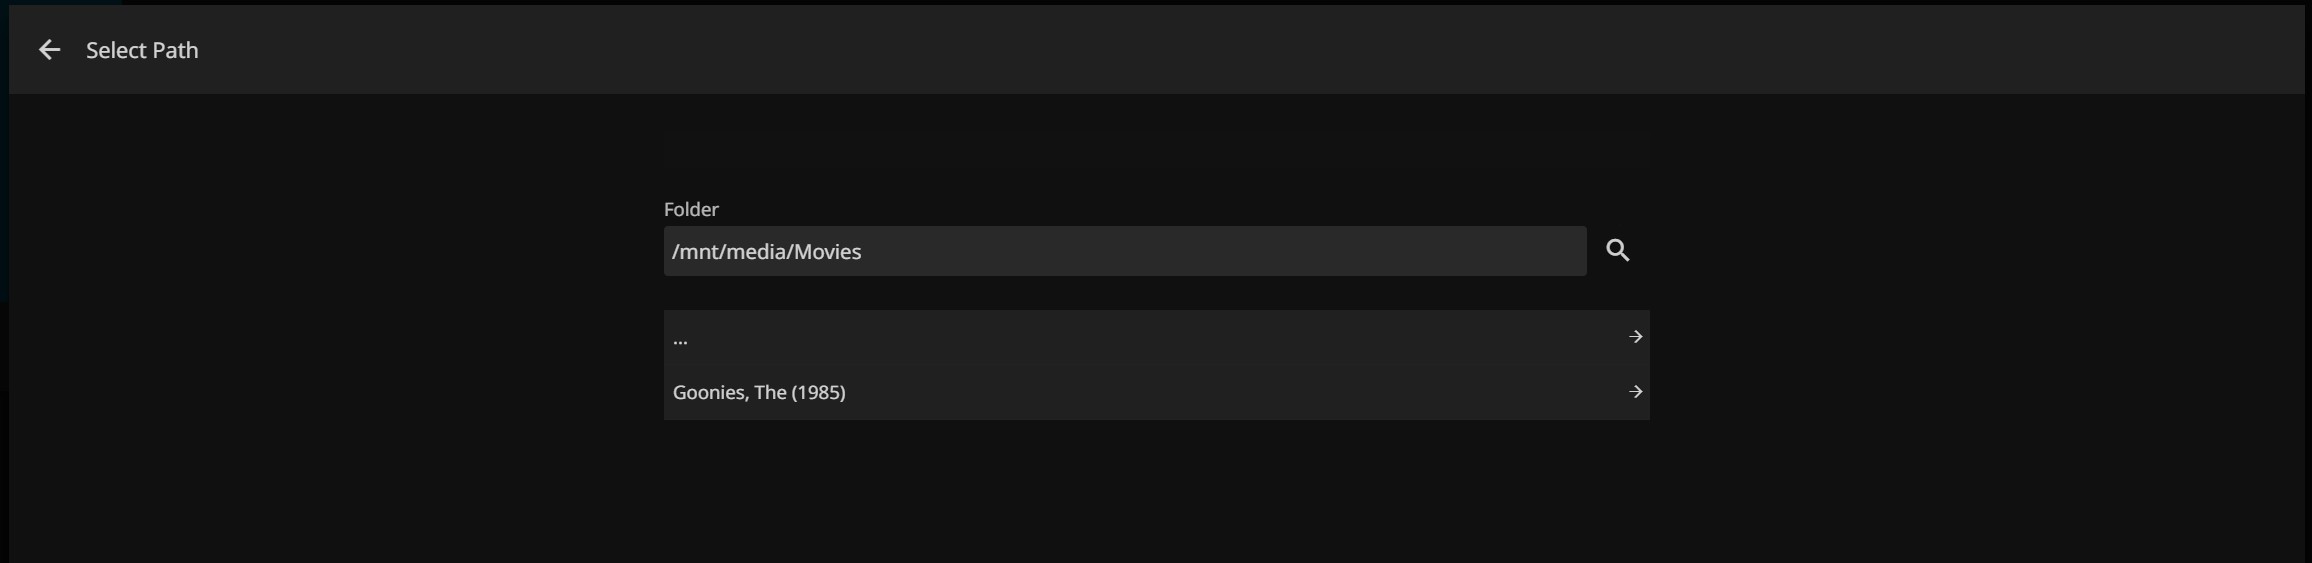
- Click the
+next to “Folders” Browse to the folder where the media is stored (e.g.,/mnt/media/Movies).
- The default setting are good to start with there is no need to change anything on this initial setup.

- Repeat for
/mnt/media/Showsand/mnt/media/Music.
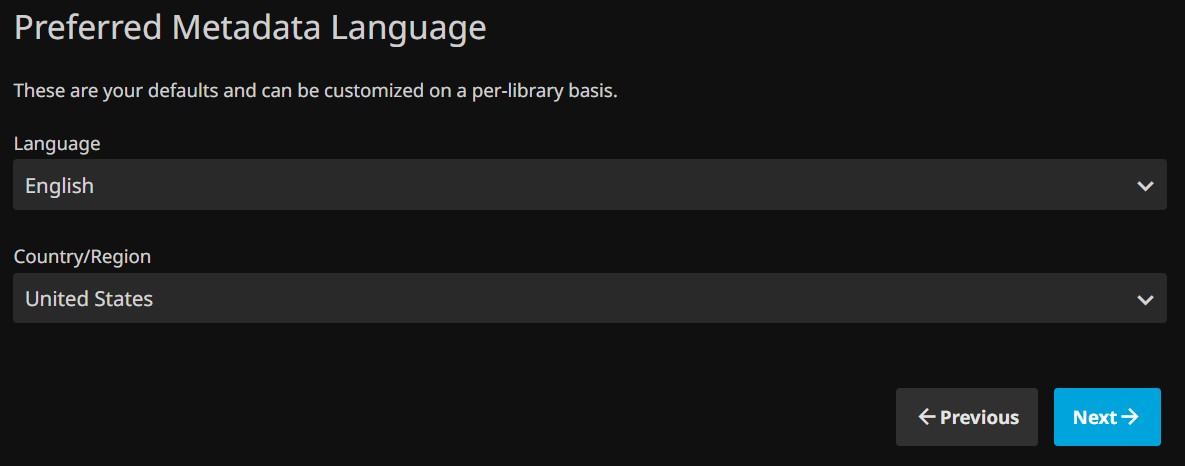
Step 4: Configure Metadata Options
Metadata enhances your media server experience by automatically adding details like cover art, plot summaries, cast lists, and ratings to your movies, TV shows, and music. This transforms your media library into a visually appealing and easy-to-navigate interface, making it feel like a professional streaming service.
For now, accept the default settings.
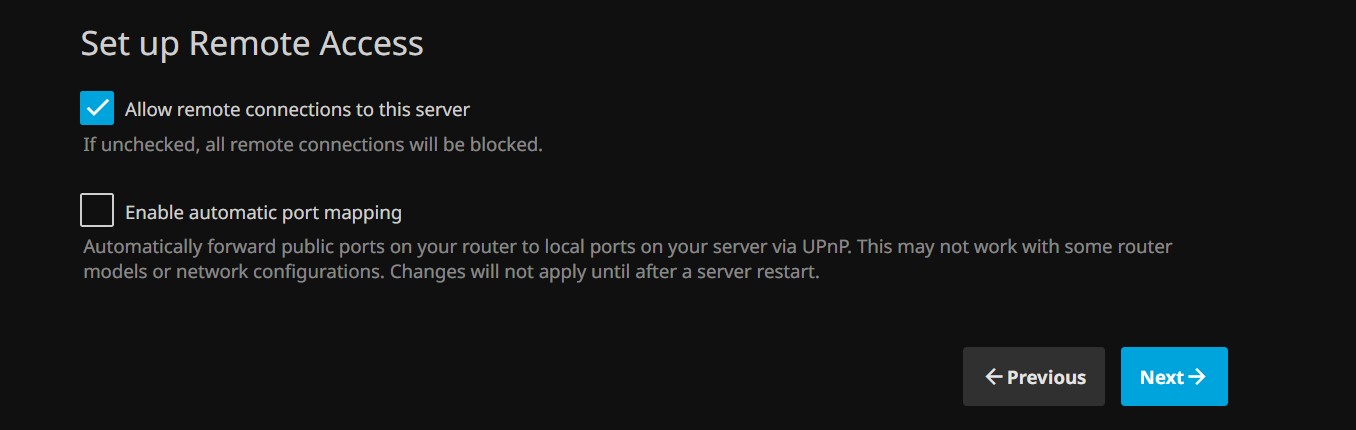
Step 5: Remote Access (Optional)
Not recommended but, To enable remote access, you need to configure your router to forward the Jellyfin server’s port (default is 8096) to the server’s internal IP address, allowing external devices to connect. For added security, consider using a VPN or enabling HTTPS with a valid SSL certificate to protect your data during remote access.
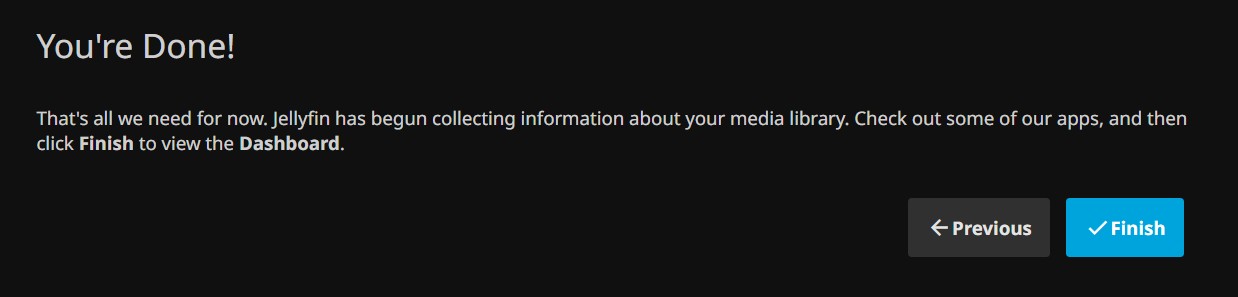
Step 6: Finish the Wizard
Click “Finish,” and the server will start scanning media files to populate the libraries.
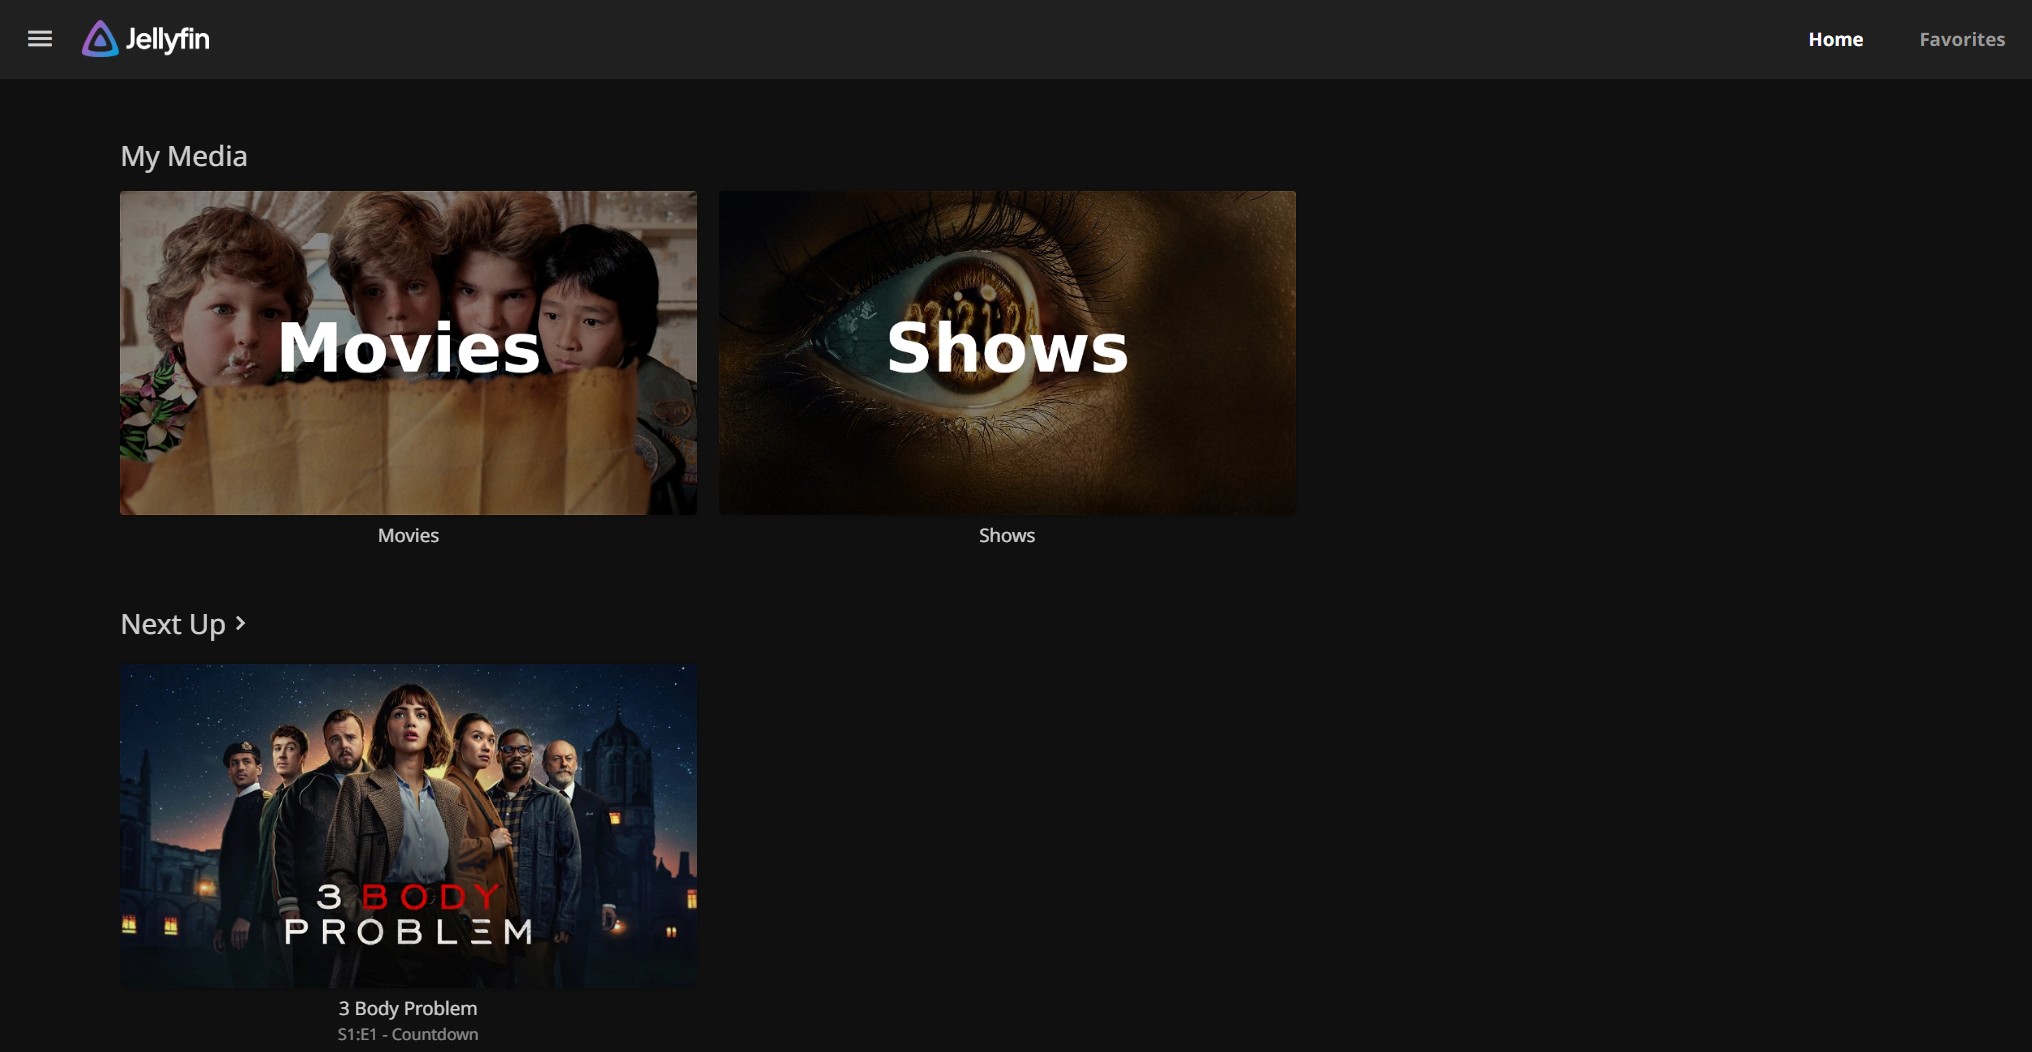
If everthing went well here your should now see the web interface with your media added.
Section 3: Testing Your Jellyfin Setup
Step 1: Open the Jellyfin Client
-
To access your media from various devices the Jellyfin app or client needs to be installed on each device or you can access it from a web browser.
-
Note: Right now this is only accessible while connected to your Local network
-
Jellyfin apps: Download and install apps for mobile devices, TVs, or streaming sticks.
Step 2: Test Playback
-
Play a sample movie or TV show to confirm that your Jellyfin server is functioning correctly. You can do this directly from the Jellyfin home screen in your web browser. However, some browsers may encounter CODEC compatibility issues during playback. For the best results, I recommend you test your media within the official Jellyfin client app, which is optimized for a seamless streaming experience.
-
Client Apps can be downloaded from your app store or here: Jellyfin Client Downloads
Conclusion
Congrats! You’ve got Jellyfin up and running with user accounts, metadata, and media libraries, all set up to deliver a seamless streaming experience. Your media server is ready to stream movies, TV shows, music, and more to any device on your network.
But this is just the start! Jellyfin has a ton of features waiting to be explored—from customizing themes and adding plugins to enabling advanced settings like remote access. Take some time to fine-tune your server and see how you can make your media experience even better.
Now, it’s time to kick back, grab some popcorn, and enjoy the payoff of all your hard work. Your home media server journey is just beginning.